Peppermint Swirl Fudge Recipe
Introduction
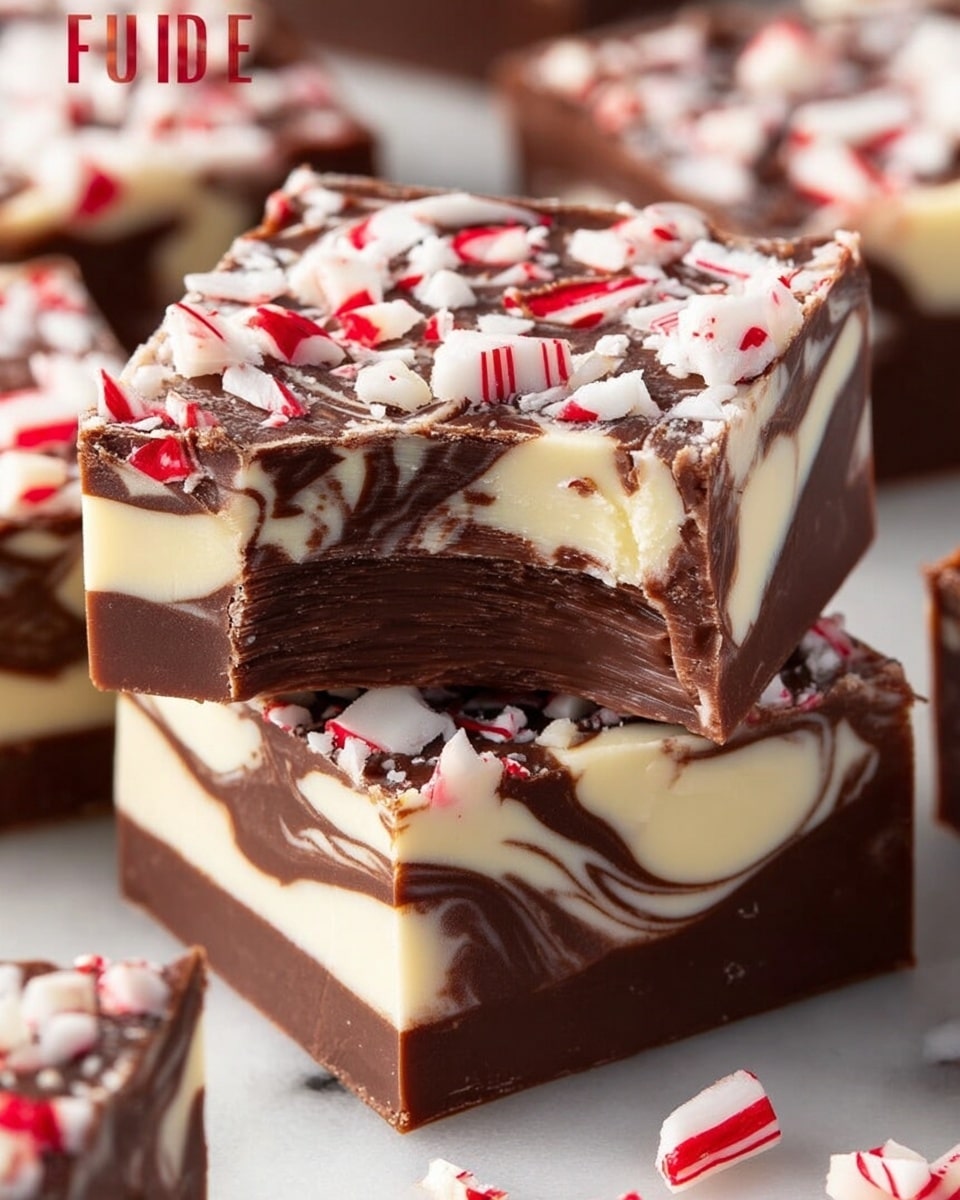
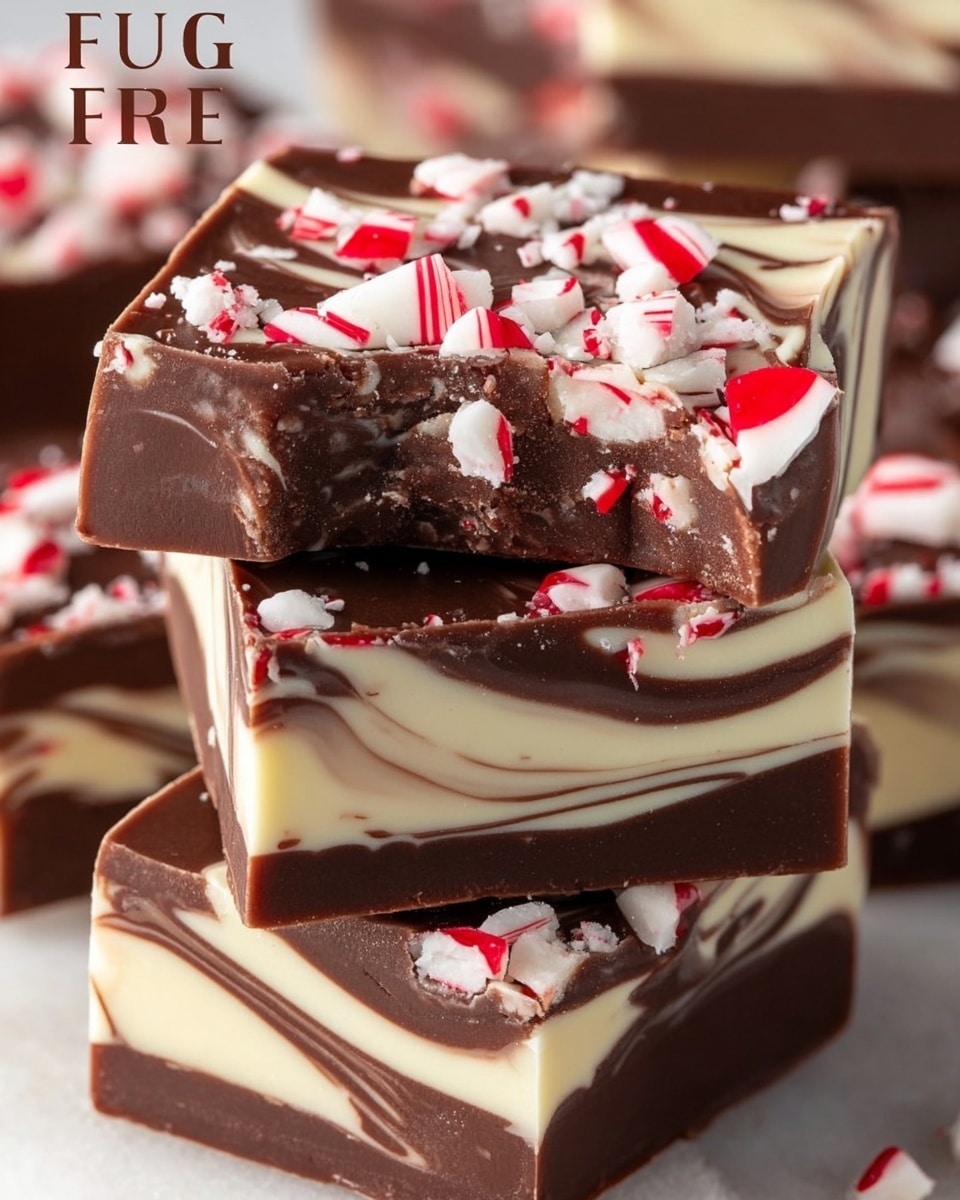
Peppermint Swirl Fudge is a festive and creamy treat combining rich chocolate with a refreshing peppermint twist. This layered fudge features a beautiful red and white swirl topped with crunchy peppermint candies, perfect for holiday gifting or enjoying any time you crave a sweet, minty indulgence.
Ingredients
- 2 cups semi-sweet or dark chocolate chips
- 1 tablespoon unsalted butter
- 1 (14 oz) can sweetened condensed milk, room temperature
- ½ teaspoon peppermint extract
- Pinch of salt
- 1½ cups white chocolate chips (use real white chocolate, not almond bark)
- ½ tablespoon unsalted butter
- ⅓ cup sweetened condensed milk, room temperature
- ½ teaspoon peppermint extract
- 1–2 drops red gel food coloring
- ½ cup crushed peppermint candies or candy canes
Instructions
- Step 1: Line an 8×8-inch square pan with parchment paper, leaving an overhang on two sides for easy removal. Lightly coat the parchment with nonstick spray and set the pan on a flat surface.
- Step 2: In a heatproof bowl, combine chocolate chips, 1 tablespoon butter, and 14 oz condensed milk. Set the bowl over simmering water and stir constantly until smooth and melted. Remove from heat, then stir in peppermint extract and a pinch of salt.
- Step 3: In another heatproof bowl, combine white chocolate chips, ½ tablespoon butter, and ⅓ cup condensed milk. Melt gently over a double boiler, stirring until smooth. Remove from heat and stir in peppermint extract and red gel food coloring. Mix gently to keep streaks of color.
- Step 4: Pour about three-quarters of the chocolate mixture into the prepared pan and spread evenly. Drop spoonfuls of the red peppermint mixture over the chocolate, then add the remaining chocolate mixture into the gaps. Use a knife or skewer to swirl the two mixtures together, forming figure-eight patterns without overmixing.
- Step 5: Sprinkle crushed peppermint candies evenly over the surface. Press lightly to help them stick to the fudge.
- Step 6: Refrigerate the pan for at least 3 hours until the fudge is fully set and firm. Use the parchment overhang to lift the fudge from the pan and cut into 25 squares with a sharp knife.
Tips & Variations
- Use high-quality chocolate for the best flavor and texture.
- For a bolder color, add an extra drop of red gel food coloring to the peppermint layer.
- Swap crushed peppermint candies with crushed candy canes or peppermint bark for different textures.
- Store leftover fudge in an airtight container to keep it fresh longer.
Storage
Store the fudge in an airtight container in the refrigerator for up to two weeks. Let it come to room temperature for about 10 minutes before serving to soften slightly. You can also freeze the fudge for up to 3 months; thaw overnight in the refrigerator before enjoying.
How to Serve
Serve this delicious recipe with your favorite sides.
FAQs
Can I use milk chocolate instead of semi-sweet or dark chocolate?
Yes, milk chocolate works, but the fudge will be sweeter and less rich. Adjust the amount of peppermint extract if needed to balance the flavors.
What can I use if I don’t have red gel food coloring?
You can use liquid food coloring, but use less as it may make the fudge runnier. Alternatively, skip the coloring and enjoy the fudge with a soft pink swirl or omit the swirl layer entirely.
PrintPeppermint Swirl Fudge Recipe

This Peppermint Swirl Fudge recipe combines rich semi-sweet chocolate with creamy white chocolate infused with refreshing peppermint. The fudge features a beautiful red and white swirl pattern, topped with crushed peppermint candies for a festive crunch. Perfect for holiday gifting or a sweet treat, it’s easy to make using a double boiler method and requires chilling to set.
- Prep Time: 15 minutes
- Cook Time: 15 minutes
- Total Time: 3 hours 30 minutes
- Yield: 25 pieces 1x
- Category: Dessert
- Method: Stovetop
- Cuisine: American
Ingredients
Chocolate Layer
- 2 cups semi-sweet or dark chocolate chips
- 1 tablespoon unsalted butter
- 1 (14 oz) can sweetened condensed milk, room temperature
- ½ teaspoon peppermint extract
- Pinch of salt
Peppermint Swirl Layer
- 1 ½ cups white chocolate chips (use real white chocolate, not almond bark)
- ½ tablespoon unsalted butter
- ⅓ cup sweetened condensed milk, room temperature
- ½ teaspoon peppermint extract
- 1–2 drops red gel food coloring
Topping
- ½ cup crushed peppermint candies or candy canes
Instructions
- Prep the Pan: Line an 8×8-inch square pan with parchment paper, ensuring an overhang on two sides to lift out the fudge easily. Lightly coat the parchment with nonstick spray and set the pan on a flat surface for easy layering.
- Make the Chocolate Fudge Base: In a heatproof bowl, combine semi-sweet or dark chocolate chips, butter, and room-temperature sweetened condensed milk. Place the bowl over a pot of simmering water (double boiler) and stir constantly until the chocolate melts completely and the mixture is smooth. Remove from heat and stir in peppermint extract and a pinch of salt to enhance flavor.
- Make the Peppermint Swirl Layer: In a separate heatproof bowl, combine white chocolate chips, butter, and the ⅓ cup of room-temperature sweetened condensed milk. Melt gently over the double boiler, stirring until smooth. Add peppermint extract and 1 to 2 drops of red gel food coloring. Stir just enough to create streaks of red without fully blending for a swirl effect.
- Layer and Swirl: Pour about three-quarters of the chocolate fudge base into the prepared pan and spread evenly. Spoon dollops of the red peppermint white chocolate mixture over the chocolate layer, then add the remaining chocolate mixture in the gaps. Using a knife or skewer, gently swirl the two mixtures together in figure-eight patterns to create a beautiful marbled design, being careful not to overmix.
- Add the Topping: Evenly sprinkle the crushed peppermint candies over the surface of the fudge. Press them gently into the fudge so they adhere as the fudge sets.
- Chill and Set: Refrigerate the fudge for at least 3 hours, or until fully firm and set. Use the parchment paper overhang to lift the entire block out of the pan. Cut into 25 small squares with a sharp knife and serve.
Notes
- Use real white chocolate chips, not almond bark, for the best texture and flavor.
- Ensure sweetened condensed milk is at room temperature to prevent seizing when melting.
- You can adjust the peppermint extract amount to taste.
- Press the crushed peppermint candies firmly to help them stick to the fudge surface.
- Store fudge in an airtight container in the refrigerator for up to 2 weeks.
- Allow fudge to come to room temperature for a few minutes before serving for a softer bite.
Keywords: peppermint fudge, holiday fudge, peppermint swirl fudge, easy fudge recipe, chocolate peppermint dessert, white chocolate fudge