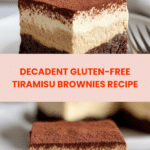
Gluten-Free Tiramisu Brownies Recipe
Introduction
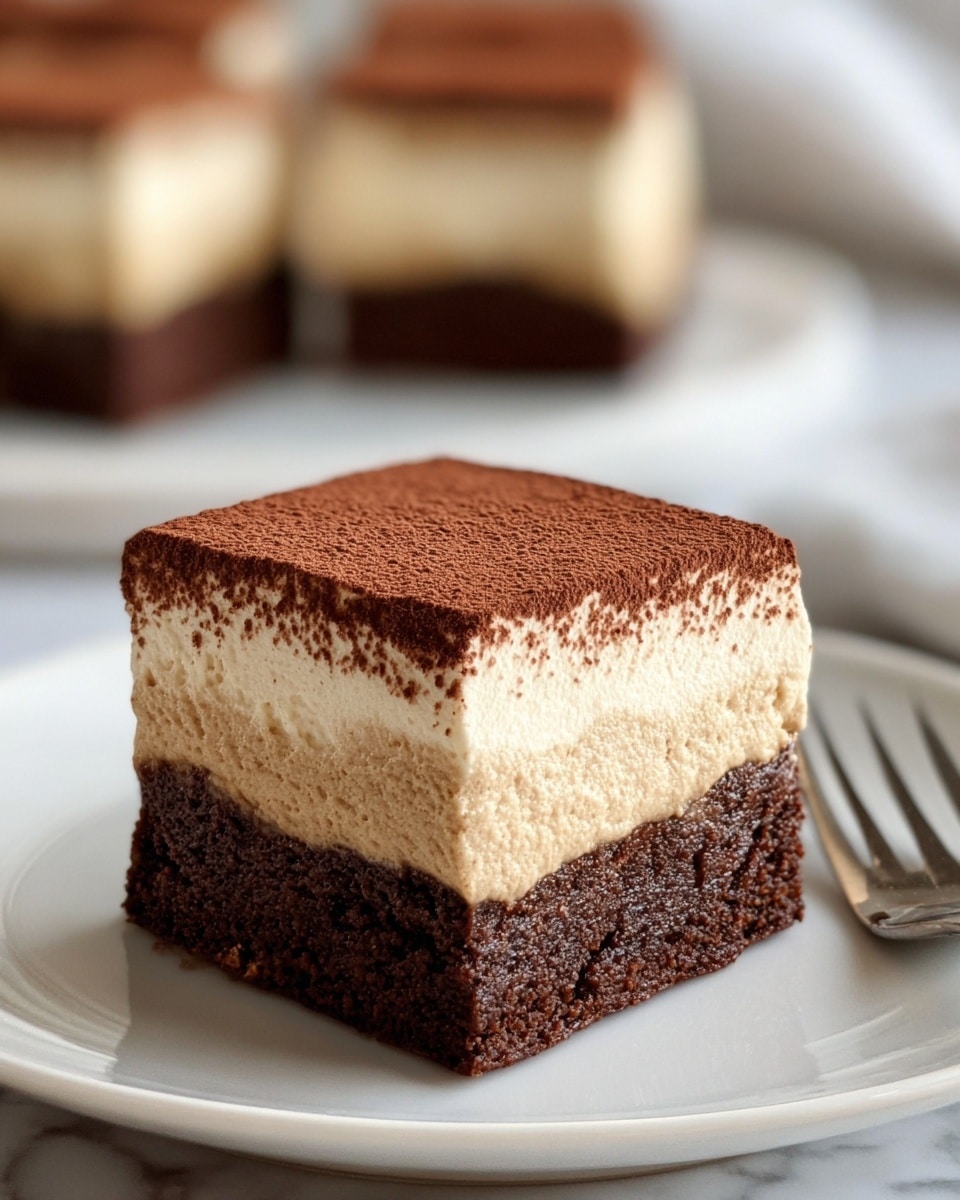
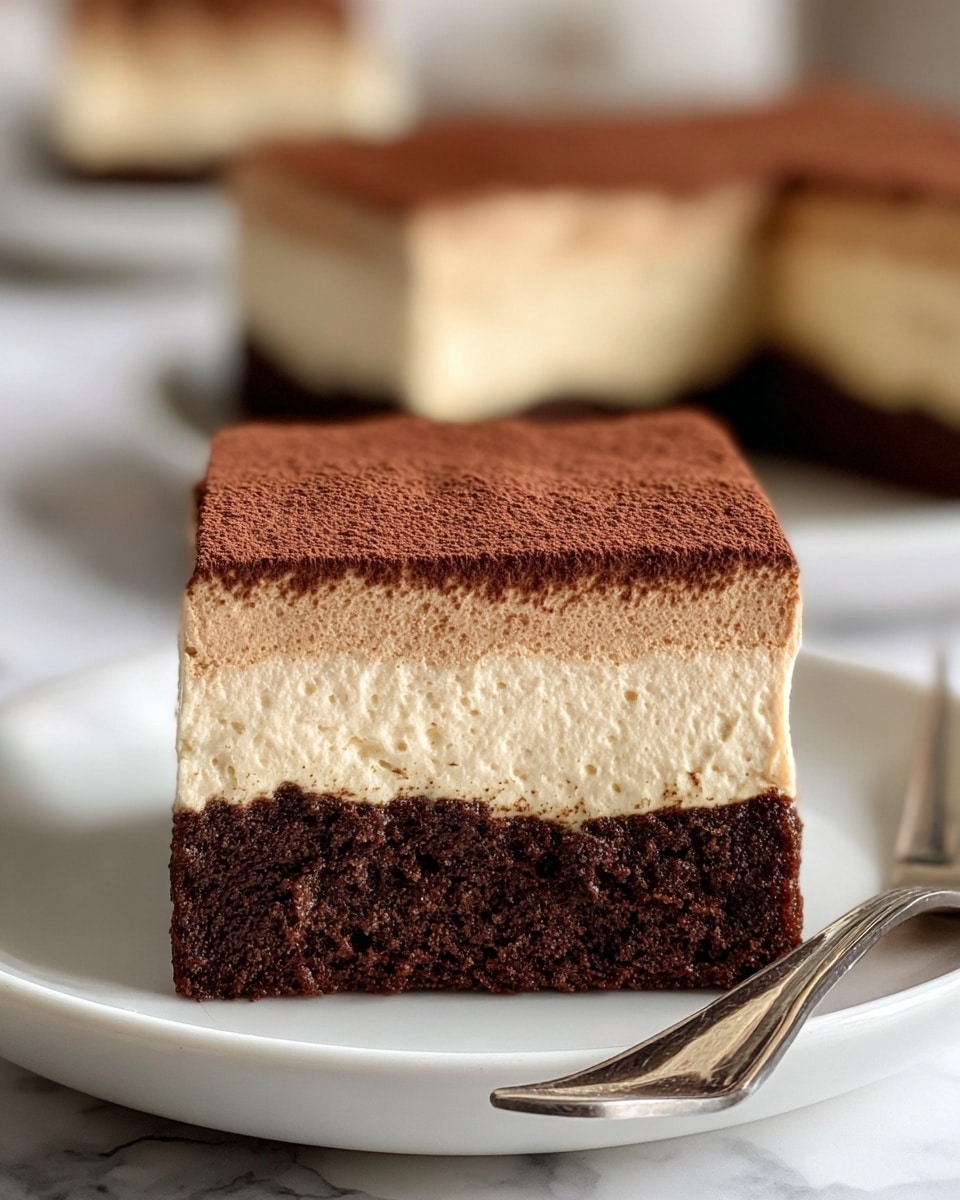
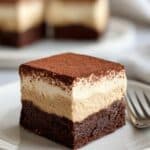
These Gluten-Free Tiramisu Brownies combine rich, fudgy chocolate with a light and creamy tiramisu topping. Perfect for those who want a decadent dessert without gluten, this treat offers the best of both worlds in every bite.
Ingredients
- 10 tablespoons butter or dairy free butter
- ½ cup dark chocolate chips
- 2 large eggs
- ¾ cup granulated sugar
- ¼ cup packed brown sugar
- 1 teaspoon vanilla extract
- ½ cup + 2 tablespoons gluten free all purpose flour with xanthan gum (we used GFJules)
- ¼ teaspoon baking powder
- ½ teaspoon salt
- 2 tablespoons unsweetened cocoa powder (100% cacao)
- 1 teaspoon espresso powder (we use Civilized Coffee Espresso Powder)
- 8 oz mascarpone cheese, room temperature
- 1 cup heavy cream, cold
- ¼ cup powdered sugar (also known as confectioners sugar)
- 1 teaspoon vanilla extract
- 1 teaspoon espresso powder (we use Civilized Coffee Espresso Powder)
- 1 tablespoon unsweetened cocoa powder – divided (¼ teaspoon in the whipped cream, the rest for dusting the top)
Instructions
- Step 1: Preheat the oven to 350°F and line an 8×8 inch square metal pan with parchment paper, allowing it to hang over the edges or tuck in. Set aside.
- Step 2: Melt the butter and dark chocolate chips together over very low heat, stirring occasionally. Remove from heat and let cool slightly.
- Step 3: In a large mixing bowl, beat the eggs until light and fluffy. Add both sugars and mix well to combine.
- Step 4: Stir in the melted chocolate mixture and vanilla extract until evenly combined.
- Step 5: Add the gluten-free flour, cocoa powder, espresso powder, baking powder, and salt. Mix until just combined.
- Step 6: Pour the brownie batter into the prepared pan, spreading it evenly.
- Step 7: Bake for 35 minutes total. At 25 minutes, loosely cover the brownies to prevent the top from burning. The brownies are done when a toothpick inserted in the center comes out clean.
- Step 8: Let the brownies cool completely in the pan before adding the tiramisu topping.
- Step 9: Chill your mixing bowl for 15 minutes in the refrigerator or freezer, if possible. Keep the heavy cream cold to ensure the lightest whipped cream.
- Step 10: In the chilled bowl, combine mascarpone cheese and heavy cream. Beat for 1–2 minutes until thick and creamy.
- Step 11: Add powdered sugar, vanilla extract, espresso powder, and ¼ teaspoon of cocoa powder. Mix on high speed for about 2 minutes, scraping the sides as needed, until the cream thickens and forms peaks.
- Step 12: Carefully lift the cooled brownies out of the pan using the parchment paper edges and place on a cutting board. Spread the tiramisu whipped cream evenly over the brownies in a thick layer.
- Step 13: Using a small fine mesh strainer, dust the remaining cocoa powder evenly over the whipped cream topping.
- Step 14: Slice the brownies using a sharp knife warmed under hot water and dried between cuts for the cleanest slices. Serve and enjoy!
Tips & Variations
- For best results, make sure the heavy cream and mixing bowl are very cold before whipping to achieve a light and fluffy topping.
- If you prefer, substitute espresso powder with instant coffee granules for a similar flavor.
- Try adding a handful of chopped nuts or chocolate chips to the batter for extra texture.
- Use a gluten-free flour blend with xanthan gum to keep the brownies moist and chewy.
Storage
Store the tiramisu brownies in an airtight container in the refrigerator for up to 5 days. When ready to serve, you can let them come to room temperature or enjoy chilled. For best texture, avoid freezing as the topping may separate upon thawing.
How to Serve
Serve this delicious recipe with your favorite sides.
FAQs
Can I make these brownies dairy-free?
Yes, substitute the butter with dairy-free butter and use a non-dairy cream alternative that whips well instead of heavy cream. Keep in mind the texture of the topping may vary slightly.
What’s the best way to slice these brownies?
For clean slices, use a sharp knife warmed under hot water and dried before cutting. This helps prevent the creamy topping from sticking and creates neat pieces.
PrintGluten-Free Tiramisu Brownies Recipe
Indulge in these decadent Gluten-Free Tiramisu Brownies, featuring rich, fudgy chocolate brownies topped with a luscious tiramisu-inspired whipped cream layer. Made with gluten-free ingredients and espresso powder for an authentic coffee flavor, this dessert is perfect for gluten-sensitive chocolate lovers craving a sophisticated treat.
- Prep Time: 20 minutes
- Cook Time: 35 minutes
- Total Time: 55 minutes
- Yield: 16 brownies 1x
- Category: Dessert
- Method: Baking
- Cuisine: Italian-American
- Diet: Gluten Free
Ingredients
Gluten-Free Chocolate Brownies
- 10 tablespoons butter or dairy free butter
- ½ cup dark chocolate chips
- 2 large eggs
- ¾ cup granulated sugar
- ¼ cup brown sugar, packed
- 1 teaspoon vanilla extract
- ½ cup + 2 tablespoons gluten free all purpose flour with xanthan gum (we used GFJules)
- ¼ teaspoon baking powder
- ½ teaspoon salt
- 2 tablespoons unsweetened cocoa powder (100% cacao)
- 1 teaspoon espresso powder (we use Civilized Coffee Espresso Powder)
Tiramisu Topping
- 8 oz mascarpone cheese, room temperature
- 1 cup heavy cream, cold
- ¼ cup powdered sugar (confectioners sugar)
- 1 teaspoon vanilla extract
- 1 teaspoon espresso powder (Civilized Coffee Espresso Powder)
- 1 tablespoon unsweetened cocoa powder (divided: ¼ teaspoon in whipped cream, the rest for dusting)
Instructions
- Preheat and Prepare Pan: Preheat your oven to 350°F (175°C). Line an 8×8 inch square metal baking pan with parchment paper, allowing it to hang over the edges or tuck in, making it easier to lift brownies out later.
- Melt Butter and Chocolate: In a small saucepan over very low heat, melt the butter and dark chocolate chips together, stirring occasionally until smooth. Remove from heat and let cool slightly to prevent scrambling the eggs later.
- Mix Wet Ingredients: In a large mixing bowl, beat the eggs until light and fluffy. Add both granulated and brown sugars, mixing well until combined. Stir in the cooled butter-chocolate mixture and vanilla extract, blending thoroughly.
- Add Dry Ingredients: Sift together the gluten-free flour, baking powder, salt, unsweetened cocoa powder, and espresso powder. Gradually add this to the wet mixture, stirring gently until fully combined and smooth.
- Bake the Brownies: Pour the batter into the prepared baking pan, spreading it evenly. Bake for a total of 35 minutes, loosely covering the top with foil after 25 minutes to prevent burning. Test doneness by inserting a toothpick in the center; it should come out clean.
- Cool Brownies: Remove the brownies from the oven and allow them to cool completely in the pan before adding the tiramisu topping.
- Chill Equipment for Topping: To achieve the best whipped cream, chill the mixing bowl for at least 15 minutes in the refrigerator or freezer. Keep the heavy cream cold until ready to use.
- Prepare Tiramisu Whipped Cream: In the chilled bowl, combine mascarpone cheese and cold heavy cream. Mix on medium speed for 1-2 minutes until thickened and creamy.
- Add Sweeteners and Flavor: Add powdered sugar, vanilla extract, espresso powder, and ¼ teaspoon cocoa powder. Whip the mixture on high speed for about 2 minutes, scraping down the sides as needed, until the whipped cream holds firm peaks.
- Assemble the Tiramisu Brownies: Carefully lift the cooled brownies out of the pan using the parchment paper edges and place on a cutting board. Spread the tiramisu whipped cream evenly in a thick layer over the brownies.
- Dust with Cocoa Powder: Using a small fine mesh strainer, dust the remaining cocoa powder evenly over the whipped cream topping for an authentic tiramisu finish.
- Slice and Serve: For clean slices, use a sharp knife warmed under hot water and dried between cuts, slicing like you would a cheesecake. Serve chilled and enjoy.
- Storage: Store leftovers in a sealed container in the refrigerator for up to 5 days to maintain freshness.
Notes
- Using cold heavy cream and chilling your mixing bowl ensures the whipped cream will reach stiff peaks for the perfect tiramisu topping.
- Cover the brownies loosely with foil during baking after 25 minutes to prevent the top from burning while allowing even cooking.
- Running the knife under hot water and drying it between cuts helps achieve neat, clean brownie slices.
- You can substitute dairy-free butter in the brownies to make the recipe dairy-free, but ensure your chocolate chips and mascarpone alternatives align with dietary needs.
- Espresso powder intensifies both the chocolate and coffee flavors, crucial for authentic tiramisu taste, so do not skip or substitute lightly.
Keywords: gluten free brownies, tiramisu brownies, gluten free dessert, chocolate tiramisu, espresso brownies, gluten free baking