Cake Batter Protein Fudge Recipe
Introduction
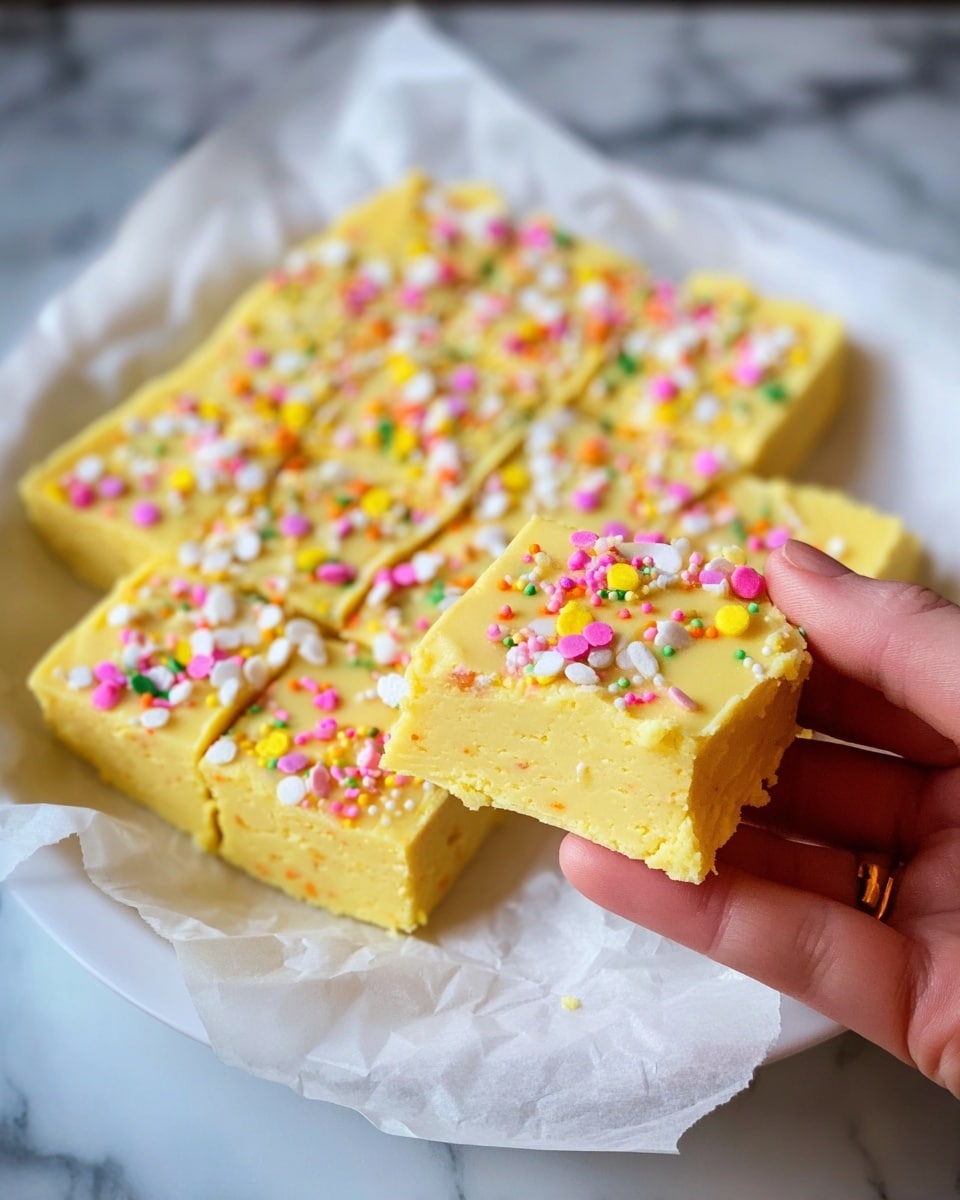
This Cake Batter Protein Fudge is a delicious and guilt-free treat that combines the nostalgic flavor of cake batter with a boost of protein. It’s easy to make, requires simple ingredients, and is perfect for satisfying your sweet tooth while staying on track with your nutrition goals.
Ingredients
- 1/2 package Pillsbury sugar-free yellow cake mix (about 250g)
- 80g vanilla protein powder
- 28g light canola butter
- 150ml almond milk
- 4 tsp sprinkles
Instructions
- Step 1: Pour the plain cake mix into a microwave-safe bowl and microwave for 1.5 minutes, stirring every 15 seconds. Let it cool completely to kill any potential bacteria in the flour.
- Step 2: Add the vanilla protein powder to the cooled cake mix and stir gently to combine.
- Step 3: Add the light canola butter and almond milk, mixing well until the batter becomes very thick.
- Step 4: Fold in some of the sprinkles, reserving a few for decoration on top.
- Step 5: Line an 8×8 inch pan with wax paper and press the batter evenly into the pan, smoothing out the surface.
- Step 6: Sprinkle the remaining sprinkles on top for decoration, then place the pan in the fridge for a few hours to set.
- Step 7: Once firm, cut into squares and enjoy your protein-packed fudge.
Tips & Variations
- Use any flavor of protein powder you like to customize the fudge, such as chocolate or strawberry.
- Swap almond milk for any other nut or dairy milk based on your preference or dietary needs.
- Try adding chopped nuts or seeds for extra texture and nutrition.
Storage
Store the fudge in an airtight container in the refrigerator for up to one week. To enjoy, you can eat it cold or let it sit at room temperature for a few minutes to soften. Avoid freezing as it may alter the texture.
How to Serve
Serve this delicious recipe with your favorite sides.
FAQs
Can I use regular cake mix instead of sugar-free?
Yes, you can use regular cake mix, but the fudge will have more sugar and calories. Adjust the sweetness or protein powder accordingly if desired.
What if I don’t have a microwave?
You can warm the cake mix in a heatproof bowl over a pot of simmering water, stirring gently until it thickens and cooks through. Then proceed with the recipe as usual.
PrintCake Batter Protein Fudge Recipe

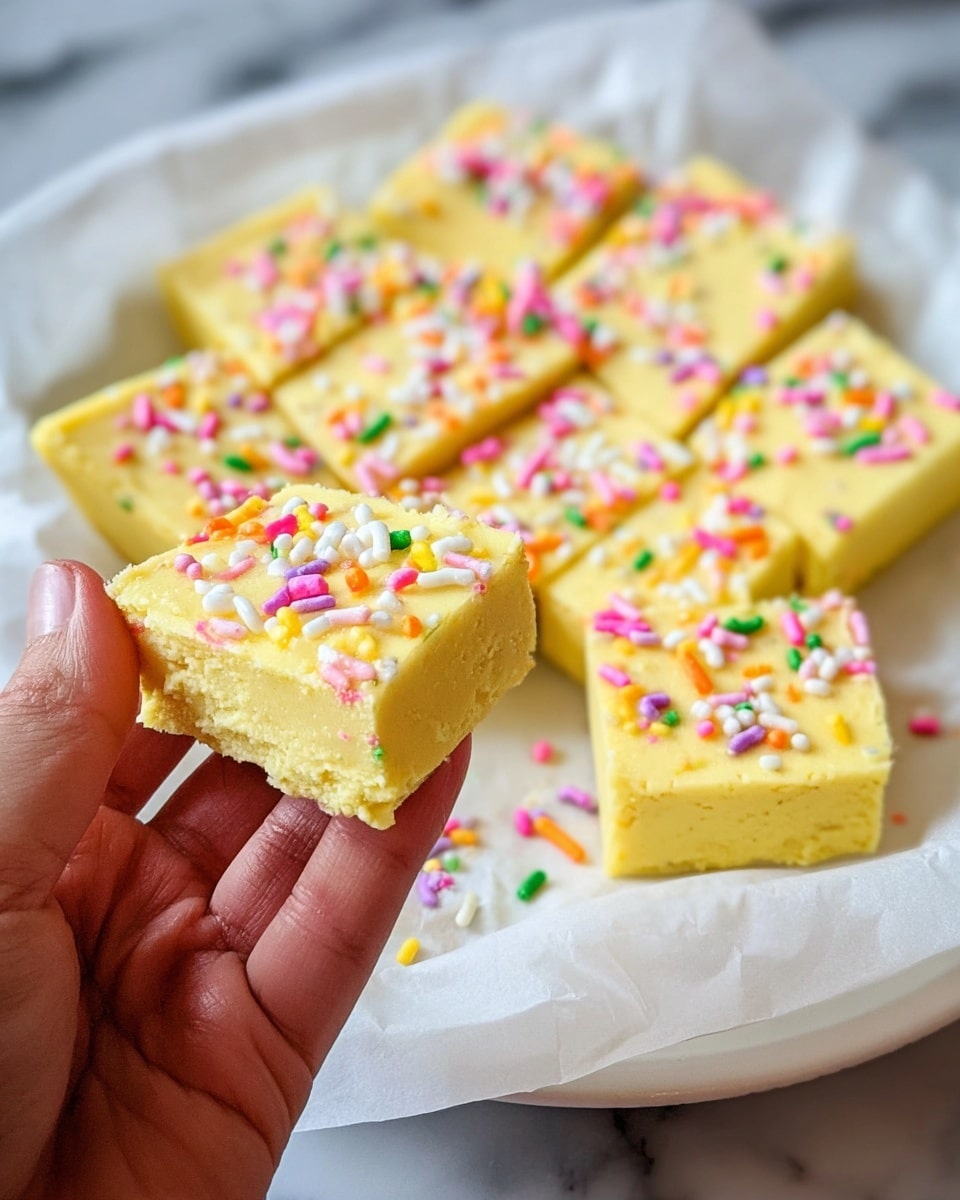
This Cake Batter Protein Fudge is a quick, no-bake treat combining the nostalgic flavor of cake batter with the added nutrition of vanilla protein powder. It’s sugar-free, easy to make, and perfect for a guilt-free dessert or snack that satisfies your sweet tooth while boosting your protein intake.
- Prep Time: 10 minutes
- Cook Time: 2 minutes
- Total Time: 3 hours 10 minutes (including chilling time)
- Yield: 16 servings (based on 8×8 pan cut into 16 pieces) 1x
- Category: Dessert
- Method: No-Cook
- Cuisine: American
- Diet: Low Calorie
Ingredients
Dry Ingredients
- 1/2 package Pillsbury sugar free yellow cake mix (about 250g)
- 80g vanilla protein powder
Wet Ingredients
- 28g light canola butter
- 150ml almond milk
Toppings
- 4 tsp sprinkles (plus extra for decoration)
Instructions
- Heat Cake Mix: Pour the plain cake mix into a microwave-safe bowl and microwave for 1.5 minutes, stirring every 15 seconds. This step ensures the flour is cooked to eliminate any potential bacteria. Allow the mixture to cool completely.
- Add Protein Powder: Once cooled, mix in the vanilla protein powder thoroughly until well combined with the cake base.
- Add Wet Ingredients: Incorporate the light canola butter and almond milk into the dry mix. The batter will become very thick as you mix, so ensure all ingredients are evenly combined.
- Add Sprinkles: Stir in 4 teaspoons of sprinkles to the batter, reserving some extra for decorating the top.
- Prepare Pan: Line an 8×8 inch pan with wax paper to prevent sticking. Press the batter firmly into the pan and smooth the surface evenly.
- Decorate and Chill: Sprinkle the remaining sprinkles over the top for a festive look. Place the pan in the refrigerator for several hours to allow the fudge to set properly.
- Serve: Once firm, cut into squares and enjoy your delicious, protein-packed cake batter fudge.
Notes
- Microwaving the dry cake mix before adding liquid ingredients helps to kill potential bacteria present in raw flour.
- Use light canola butter for a lighter fat content without compromising creaminess.
- Ensure the fudge cools completely in the fridge before cutting to maintain firmness and texture.
- Sprinkles add fun visual appeal and a slight crunch; use sugar-free sprinkles if desired for a fully sugar-free treat.
- This recipe is versatile—substitute almond milk for other plant-based milks if preferred.
Keywords: protein fudge, cake batter fudge, no-bake dessert, sugar free fudge, protein dessert, healthy fudge, low calorie treat