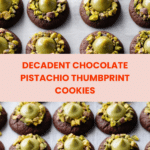
Chocolate Pistachio Cream Thumbprints Recipe
Introduction
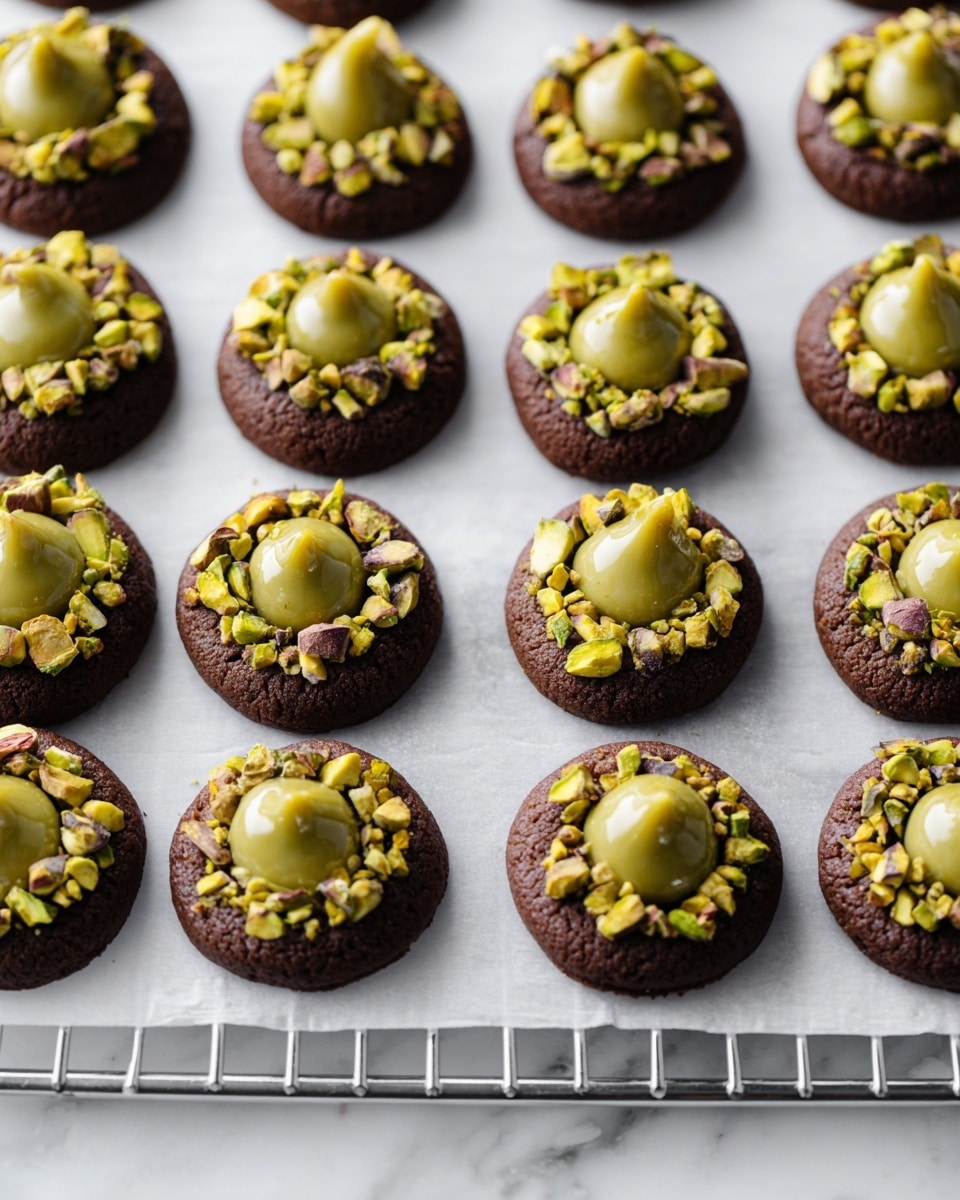
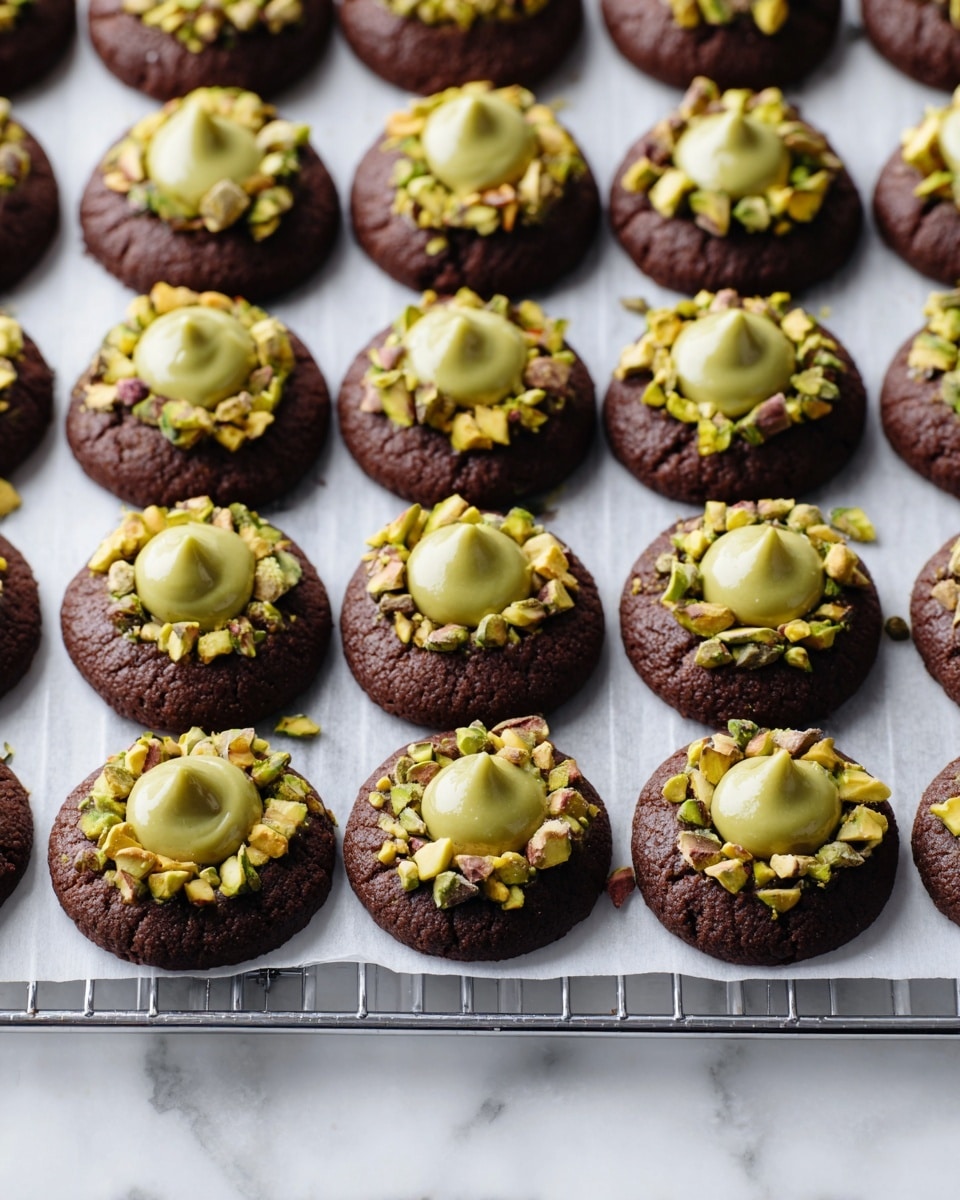
These Chocolate Pistachio Cream Thumbprints combine rich cocoa dough with a smooth, nutty filling for a delightful treat. Perfectly soft with a crisp edge, they offer a lovely balance of chocolate and pistachio flavors in every bite.
Ingredients
- 10 tablespoons unsalted butter (at room temperature)
- 2/3 cup granulated sugar
- 1 large egg yolk (reserve the white if rolling in nuts)
- 1 teaspoon vanilla extract
- 1/4 teaspoon pistachio extract (optional)
- 1 1/4 cups all-purpose flour
- 1/3 cup dutch-processed cocoa powder (sifted)
- 1/2 teaspoon fine sea salt
- 1/2 cup coarsely chopped pistachios
- 1.5 ounces white chocolate (chopped)
- 3 tablespoons pistachio butter
- 2 teaspoons powdered sugar (sifted)
- 1/8 teaspoon fine sea salt
- 1/8 teaspoon pistachio extract (optional)
- 1/8 teaspoon vanilla powder (optional)
Instructions
- Step 1: Preheat your oven to 350°F (175°C). Line a light or medium-colored heavy-weight baking sheet with parchment paper or a silicone baking mat.
- Step 2: Using an electric mixer on medium-high speed, beat the butter and sugar together until light and fluffy, about 2 to 3 minutes. Add the egg yolk, vanilla, and pistachio extract; beat until combined.
- Step 3: Sift the flour, cocoa powder, and salt together. Gradually add this to the butter mixture and mix on low speed until just incorporated and a stiff dough forms. If the dough is too crumbly, add 1 to 2 teaspoons of milk to bring it together, noting this may cause more spreading during baking.
- Step 4: Roll the dough into 1-inch balls and place them on the prepared baking sheet.
- Step 5: For plain cookies, gently press the balls with your thumb or the back of a 1/2 teaspoon measuring spoon to create an indentation without cracking the dough. Dust the spoon with flour to prevent sticking.
- Step 6: For nut-coated cookies, dip the dough balls lightly in reserved egg white, roll them in chopped pistachios to coat evenly, place on the baking sheet, then press to indent as described above.
- Step 7: Bake for 10 to 12 minutes, until the centers are set and puffed slightly, and the edges darken a bit. Remove from the oven.
- Step 8: While warm, redefine the indentations with the measuring spoon to create space for filling, as the dough will have puffed during baking.
- Step 9: To prepare the filling, melt the white chocolate in a small microwave-safe bowl at 50% power, stirring every 30 seconds until smooth.
- Step 10: Stir the pistachio butter, powdered sugar, sea salt, pistachio extract, and vanilla powder into the melted chocolate until fully combined.
- Step 11: Spoon about 1/2 teaspoon of filling into each cookie indentation, being careful not to overfill.
- Step 12: Allow cookies to cool at room temperature for about 2 hours until the filling sets, or refrigerate for 10 to 15 minutes to speed this process.
Tips & Variations
- If your dough is crumbly, adding a small amount of milk helps but expect slight spreading during baking.
- Use pistachio extract sparingly or omit if unavailable—vanilla extract alone provides great flavor.
- For extra texture, try rolling some cookies in finely chopped pistachios instead of plain.
- Substitute white chocolate with milk or dark chocolate for a different filling taste.
Storage
Store these cookies in an airtight container at room temperature or in the refrigerator. They stay fresh for up to 5 days. To enjoy the filling soft, bring refrigerated cookies to room temperature before serving.
How to Serve
Serve this delicious recipe with your favorite sides.
FAQs
Can I use all of the egg instead of just the yolk?
Using the whole egg will change the dough’s texture and moisture, possibly making it less tender. The yolk alone provides richness without extra moisture, which is ideal for these cookies.
What if I don’t have pistachio butter or extract?
You can omit the pistachio butter and extract; the cookies will still taste delicious. Consider substituting with almond butter and almond extract for a similar nutty flavor.
PrintChocolate Pistachio Cream Thumbprints Recipe

Delight in these decadent Chocolate Pistachio Cream Thumbprints, a perfect blend of rich cocoa-infused cookies paired with a luscious pistachio and white chocolate filling. These thumbprint cookies offer a tender, buttery texture, lightly crunchy pistachio coating, and a creamy center, making them an irresistible treat for any occasion.
- Prep Time: 15 minutes
- Cook Time: 12 minutes
- Total Time: 2 hours 27 minutes
- Yield: About 24 cookies 1x
- Category: Dessert
- Method: Baking
- Cuisine: American
Ingredients
Cookie Dough
- 10 tablespoons unsalted butter, at room temperature
- 2/3 cup granulated sugar
- 1 large egg yolk (reserve the white for rolling in nuts)
- 1 teaspoon vanilla extract
- 1/4 teaspoon pistachio extract (optional)
- 1 1/4 cups all-purpose flour
- 1/3 cup dutch-processed cocoa powder, sifted
- 1/2 teaspoon fine sea salt
- 1/2 cup coarsely chopped pistachios
Filling
- 1.5 ounces white chocolate, chopped
- 3 tablespoons pistachio butter
- 2 teaspoons powdered sugar, sifted
- 1/8 teaspoon fine sea salt
- 1/8 teaspoon pistachio extract (optional)
- 1/8 teaspoon vanilla powder (optional)
Instructions
- Prepare Oven and Baking Sheet: Preheat your oven to 350 degrees F. Line a light or medium-colored heavy-weight baking sheet with parchment paper or a silicone baking mat to prevent sticking and promote even baking.
- Mix Butter and Sugar: Using an electric mixer on medium-high speed, beat together the unsalted butter and granulated sugar until the mixture is light and fluffy, approximately 2 to 3 minutes. This aeration helps create a tender cookie texture. Add the egg yolk, vanilla extract, and pistachio extract, and beat until combined.
- Sift and Combine Dry Ingredients: Sift together the all-purpose flour, dutch-processed cocoa powder, and fine sea salt to ensure even distribution and avoid lumps. Gradually add this dry mixture to the butter mixture, mixing on low speed just until incorporated into a stiff dough. If the dough is too crumbly, add 1 to 2 teaspoons of milk to help it come together, noting this may affect the spread during baking.
- Shape the Dough Balls: Roll the dough into 1-inch diameter balls and place them evenly spaced on the prepared baking sheet.
- Create Indentations for Plain Cookies: For plain thumbprint cookies, gently flatten each dough ball slightly with your thumb or the back of a rounded 1/2 teaspoon measuring spoon to form a small indentation. Dip the spoon in flour to prevent sticking and avoid pressing too hard to prevent cracking.
- Prepare Nut-Coated Cookies (Optional): For nut-coated versions, lightly dip each dough ball into the reserved egg white, then roll between your palms to coat it thinly. Next, roll the dough ball in the chopped pistachios until evenly covered. Place on the baking sheet and gently press again with your thumb or measuring spoon to make the indentation.
- Bake the Cookies: Bake the cookies in the preheated oven for 10 to 12 minutes, or until the centers are set and slightly puffed, and the edges appear slightly darker. Remove the baking sheet from the oven.
- Refine Indentations: While the cookies are still warm, press the indentations again using the same measuring spoon to recreate space for the filling, as the cookies can puff during baking.
- Prepare the Filling: Put the chopped white chocolate in a small, microwave-safe bowl. Microwave at 50% power, stirring every 30 seconds until fully melted and smooth.
- Mix Filling Ingredients: Stir the melted white chocolate with pistachio butter, powdered sugar, sea salt, pistachio extract, and vanilla powder until the mixture is smooth and creamy.
- Fill the Cookies: Spoon about 1/2 teaspoon of the pistachio cream filling into the indentation of each cookie, being careful not to overfill and spill over the edges.
- Set the Filling: Allow the cookies to cool at room temperature for approximately 2 hours until the filling sets. To speed up this process, refrigerate for 10 to 15 minutes until the centers lose their shine.
- Storage: Store the thumbprint cookies in an airtight container at room temperature or refrigerated for up to 5 days to maintain freshness and texture.
Notes
- Use room temperature butter for easier creaming and a smoother dough.
- If the dough is crumbly, add a small amount of milk (1-2 teaspoons) to aid cohesion but note this may cause cookies to spread slightly more during baking.
- Pistachio extract is optional but enhances the nutty flavor for a richer taste.
- Lightly flour the tool used to make indentations to prevent sticking and cracking.
- For a nut-coated version, ensure the reserved egg white is spread thinly for the pistachios to adhere nicely.
- Cooling time is essential for setting the filling properly; refrigerate if short on time.
- These cookies keep well up to 5 days, making them great for prepping ahead or gifting.
Keywords: chocolate thumbprint cookies, pistachio cookies, nut-coated cookies, white chocolate filling, holiday cookies, chocolate pistachio dessert