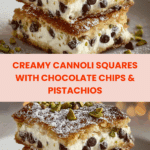
Classic Cannoli Squares That Will Wow Your Taste Buds Recipe
If you are craving a dessert that feels both indulgent and fun, you are going to love this recipe. Classic Cannoli Squares That Will Wow Your Taste Buds are a fresh twist on the beloved Italian cannoli, reimagined as easy-to-slice squares packed with creamy ricotta, sweet chocolate, and a hint of cinnamon. This dessert is simple to make but delivers so much rich flavor and delightful texture, turning any ordinary day into a celebration of sweet goodness. Once you try these squares, they’ll quickly become your go-to treat to impress friends, family, or just delight yourself!
Ingredients You’ll Need
Every ingredient in this recipe plays a vital role in creating the perfect balance of creaminess, crunch, and sweetness. They are simple yet essential, ensuring your Classic Cannoli Squares That Will Wow Your Taste Buds come out flawless every time.
- 2 cups Ricotta Cheese: Use whole milk ricotta for a naturally creamy and rich filling that melts on your tongue.
- 1 cup Powdered Sugar: This adds smooth sweetness; coconut sugar works wonderfully for a subtle caramel note and a healthier twist.
- 1 teaspoon Vanilla Extract: Pure vanilla extract enriches the flavor, adding that warm and familiar aroma.
- 1/2 teaspoon Cinnamon: A pinch brings depth and a gentle spice—feel free to skip it if you prefer a classic cannoli taste.
- 1/2 cup Mini Chocolate Chips: Dark chocolate chips balance the ricotta’s creaminess with just the right touch of bittersweet indulgence.
- 2 pre-made pie crusts: Ready to use crusts keep things simple, but homemade crusts add a personal touch and flakier texture.
- 1 large Egg: Brushed on top for a gorgeous shiny finish and golden color after baking.
- Sugar for sprinkling: Sprinkled on top before baking to create a lightly crunchy, sweet crust.
- 1/4 cup Chopped Pistachios: Offers a beautiful green pop and a satisfying crunch that complements the softness inside.
- 3 pieces Maraschino Cherries: Adds cheerful color and a little burst of extra sweetness for decoration.
- 1/4 cup Extra Chocolate Chips: Optional but perfect for chocolate lovers to scatter on top or serve alongside.
How to Make Classic Cannoli Squares That Will Wow Your Taste Buds
Step 1: Prepare the Ricotta Filling
Start by combining your ricotta cheese, powdered sugar, vanilla extract, cinnamon, and mini chocolate chips in a mixing bowl. Whisk everything together until the mixture is silky smooth and evenly blended. This filling is the heart of your squares, offering that classic cannoli flavor in every bite.
Step 2: Preheat the Oven
Set your oven to 375°F (190°C). This moderate heat level ensures the crust bakes to a perfect golden brown without drying out the creamy center.
Step 3: Prepare the Pie Crust Base
Unroll one pre-made pie crust and gently fit it into a 9×9-inch baking dish. Press it down so it sits evenly with no gaps, creating the sturdy, buttery base your ricotta filling will rest on.
Step 4: Add the Ricotta Mixture
Spoon your luscious ricotta filling over the pie crust, spreading it out evenly from edge to edge. Smooth the top gently to ensure consistent baking and an appealing look once cut.
Step 5: Top with the Second Pie Crust
Carefully lay the second pie crust over the ricotta filling, pressing down the edges to seal everything in like a delicious package. This keeps all those marvelous flavors trapped inside while baking.
Step 6: Egg Wash and Sprinkling
Brush the top crust with beaten egg to give it a beautiful, glossy finish once baked. Sprinkle sugar across the top right after for a light sweet crunch that will make your squares sparkle and sing.
Step 7: Bake to Perfection
Pop your baking dish into the oven and bake for 30-35 minutes until the crust turns a glorious golden brown. The aroma filling your kitchen will be irresistible and will have you eager to try a square the moment it cools.
Step 8: Cool and Cut
Allow the Classic Cannoli Squares That Will Wow Your Taste Buds to cool for at least 30 minutes before cutting. Patience here means cleaner squares and the filling will set up nicely so every piece holds together beautifully.
How to Serve Classic Cannoli Squares That Will Wow Your Taste Buds
Garnishes
Enhance your squares by sprinkling chopped pistachios right before serving for a fresh crunch and vibrant color. A maraschino cherry on each square can add a cheerful, classic cannoli look that’s as festive as it is delicious. If you love chocolate, sprinkle extra mini chocolate chips on top for that extra touch of indulgence.
Side Dishes
These squares pair wonderfully with a simple cup of espresso or a warm latte, making for a delightful Italian-inspired pairing. A scoop of vanilla gelato or a drizzle of chocolate sauce on the side also takes this dessert into seriously decadent territory.
Creative Ways to Present
For a party, serve each square on a decorative plate with a dusting of cocoa powder or powdered sugar around it. You can also serve mini squares in pretty cupcake liners for bite-sized treats that “wow” visually and palate-wise. For an elegant touch, drizzle a little melted chocolate or honey over the top and add a tiny mint leaf.
Make Ahead and Storage
Storing Leftovers
Keep leftover squares covered in an airtight container in the refrigerator for up to 3 days. The flavors meld beautifully, but make sure they’re protected from absorbing other fridge odors. For best texture, bring them to room temperature before serving.
Freezing
You can freeze these squares for up to 2 months. Wrap them tightly in plastic wrap and then place in a freezer-safe container. When you want to enjoy them, thaw in the fridge overnight to keep the filling creamy and the crust tender.
Reheating
Warm your thawed Classic Cannoli Squares That Will Wow Your Taste Buds gently in a low oven (around 300°F) for 5-7 minutes to revive the crust’s crispness without drying out the filling. Avoid microwaving as it can make the crust soggy and alter the lovely texture.
FAQs
Can I use low-fat ricotta for this recipe?
You can, but whole milk ricotta is recommended because it yields a richer, creamier filling that better captures that authentic cannoli taste. Low-fat versions might be a bit drier.
Is it necessary to use cinnamon in the filling?
Cinnamon adds a subtle warmth to the ricotta filling, but it is completely optional. If you prefer the classic cannoli filling flavor, feel free to leave it out—it’s delicious either way!
Can I make the crust from scratch instead of using pre-made?
Absolutely! A homemade pie crust will add a lovely homemade touch and flakiness. Just be sure it fits well into your baking dish and bakes fully without becoming soggy.
How do I prevent the crust from getting soggy?
Sealing the edges tightly and baking at the right temperature ensures the crust stays crisp. Also, letting the squares cool completely before cutting helps the filling set and keeps the crust firm.
What can I substitute for chocolate chips?
If you’re not a fan of chocolate, mini chopped nuts like walnuts or hazelnuts can add crunch and flavor. You could also try dried fruit like chopped dried cherries or cranberries for a sweet-tart contrast.
Final Thoughts
If you want a dessert that’s straightforward to make but bursting with flavor, do yourself a favor and try these Classic Cannoli Squares That Will Wow Your Taste Buds. Their creamy ricotta filling and crisp, golden crust create a perfect harmony that’s sure to delight everyone at your table. Whether you’re making them for a casual treat or a special occasion, these squares will bring smiles and make memories. Once you taste them, you’ll understand why they are a new favorite!
PrintClassic Cannoli Squares That Will Wow Your Taste Buds Recipe

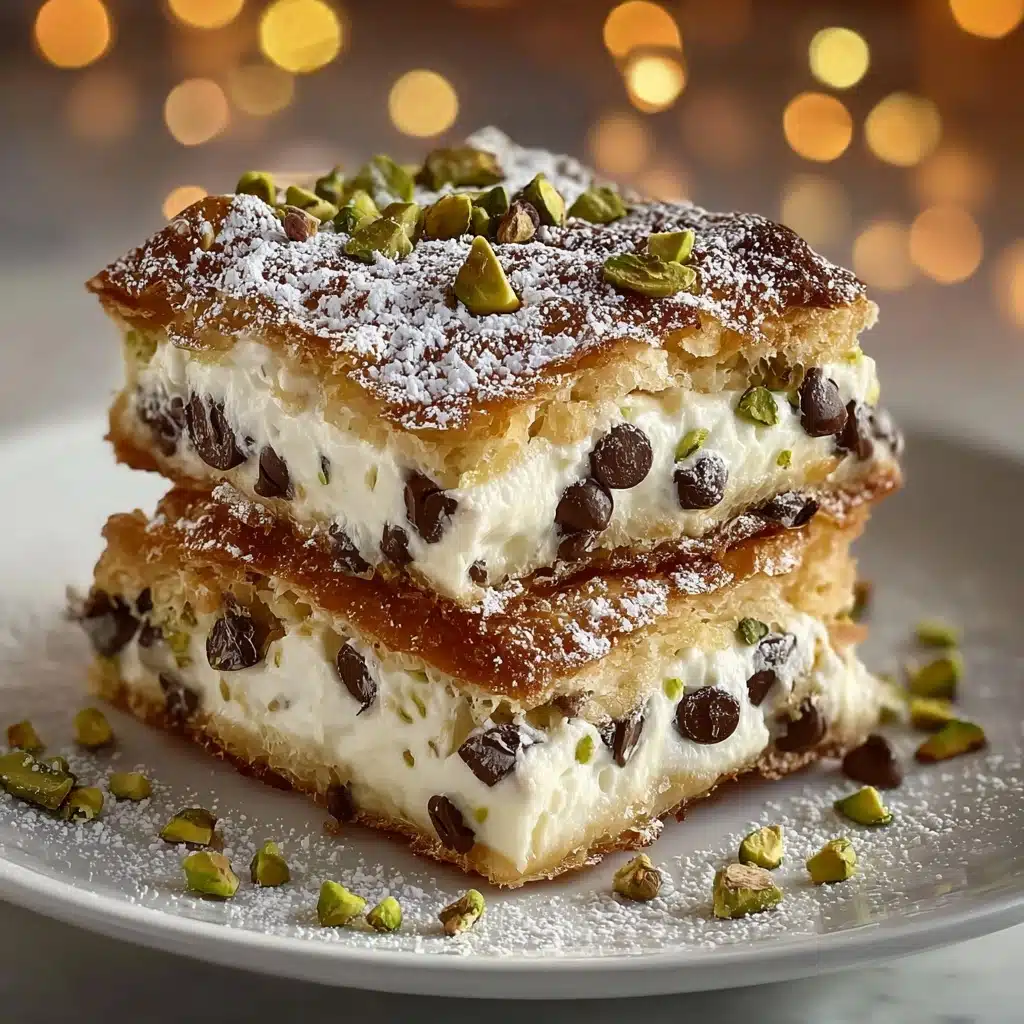
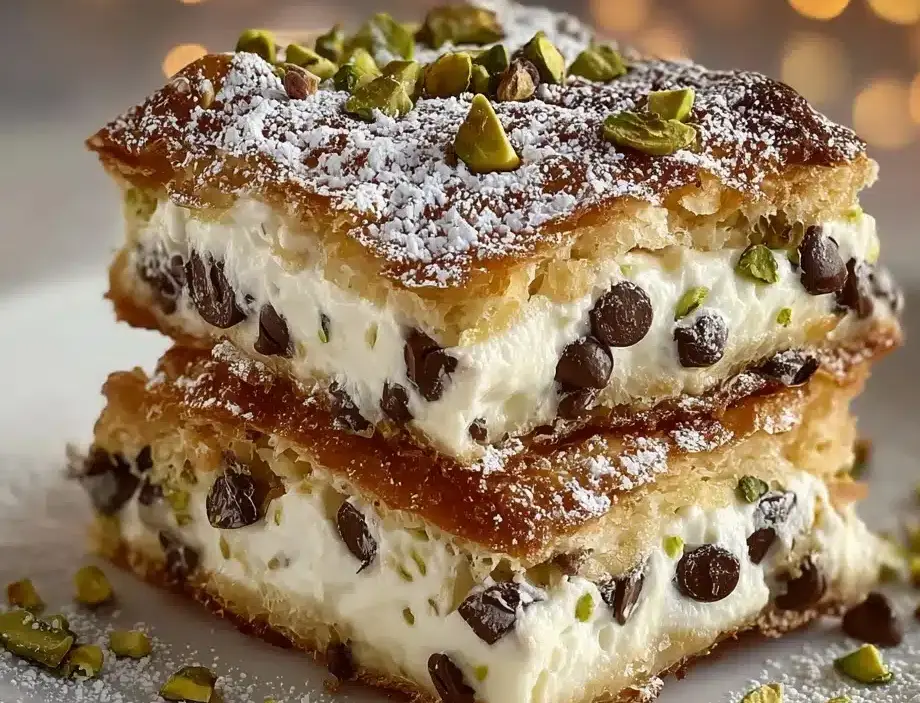
Classic Cannoli Squares combine creamy ricotta filling with chocolate chips and a flaky pie crust for a delightful twist on traditional cannoli. This easy-to-make dessert features a sweet ricotta mixture nestled between two layers of buttery pie crust, finished with a glossy egg wash and a sprinkle of sugar, topped with pistachios and maraschino cherries for added texture and color. Perfect for gatherings and sure to wow your taste buds with every bite.
- Prep Time: 15 minutes
- Cook Time: 35 minutes
- Total Time: 50 minutes
- Yield: 9 squares (3×3-inch pieces) 1x
- Category: Dessert
- Method: Baking
- Cuisine: Italian-American
- Diet: Vegetarian
Ingredients
Filling
- 2 cups Ricotta Cheese (use whole milk for a richer texture)
- 1 cup Powdered Sugar (substitute with coconut sugar for a healthier option)
- 1 teaspoon Vanilla Extract (opt for pure vanilla for the best taste)
- 1/2 teaspoon Cinnamon (omit if you prefer a classic cannoli flavor)
- 1/2 cup Mini Chocolate Chips (dark chocolate enhances richness)
Crust & Topping
- 2 pre-made Pie Crusts (homemade crust works beautifully, too)
- 1 large Egg (for an egg wash that gives a glossy finish)
- Sugar (for sprinkling; adds a sweet crunch on top when baked)
- 1/4 cup Chopped Pistachios (offers a delightful crunch and color)
- 3 pieces Maraschino Cherries (adds a pop of sweetness and decoration)
- 1/4 cup Extra Chocolate Chips (for those who can’t get enough chocolate)
Instructions
- Prepare the Filling: In a mixing bowl, combine 2 cups of ricotta cheese, 1 cup of powdered sugar, 1 teaspoon of vanilla extract, ½ teaspoon of cinnamon, and ½ cup of mini chocolate chips. Whisk until smooth and well blended to create a creamy filling.
- Preheat Oven: Preheat your oven to 375°F (190°C) so it reaches the optimal temperature for baking the squares evenly and achieving a golden crust.
- Set Pie Crust Base: Unroll one pre-made pie crust and fit it carefully into a 9×9-inch baking dish, ensuring the crust covers the bottom and sides evenly.
- Add Filling: Spoon the prepared ricotta mixture evenly over the pie crust base, spreading gently to cover the surface without spilling over the edges.
- Apply Top Crust: Place the second pie crust over the ricotta filling, pressing the edges firmly to seal the two crusts together and encase the filling.
- Egg Wash and Sugar Topping: Beat the large egg and brush it evenly over the top crust to give the dessert a glossy golden finish. Sprinkle sugar generously on top for a sweet, crunchy texture.
- Bake: Bake the assembled cannoli squares in the preheated oven for 30 to 35 minutes, or until the crust is golden brown and cooked through.
- Cool and Garnish: Once baked, allow the squares to cool for at least 30 minutes. Then, sprinkle the chopped pistachios and extra chocolate chips on top and garnish with maraschino cherries for added color and sweetness.
- Serve: Cut into squares and serve as a delightful dessert that combines creamy ricotta, chocolate, and a crisp crust.
Notes
- Use whole milk ricotta for the creamiest texture; drain excess liquid if your ricotta is watery to avoid soggy crust.
- Cinnamon is optional – omit it for a more traditional cannoli flavor.
- You can substitute powdered sugar with coconut sugar for a healthier alternative, but the texture of the filling may be slightly different.
- Chilling the dessert after baking helps the filling to set and makes cutting squares easier.
- For a homemade touch, prepare your own pie crust instead of store-bought crusts.
- This dessert can be stored covered in the refrigerator for up to 2 days but is best enjoyed fresh.
Nutrition
- Serving Size: 1 square (approx. 3×3 inches)
- Calories: 320 kcal
- Sugar: 18 g
- Sodium: 210 mg
- Fat: 18 g
- Saturated Fat: 8 g
- Unsaturated Fat: 7 g
- Trans Fat: 0 g
- Carbohydrates: 32 g
- Fiber: 2 g
- Protein: 7 g
- Cholesterol: 55 mg
Keywords: cannoli squares, ricotta dessert, easy cannoli recipe, chocolate chip dessert, Italian dessert, baked cannoli, cannoli pie