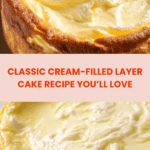
Classic Cream-Filled Layer Cake Recipe
Introduction
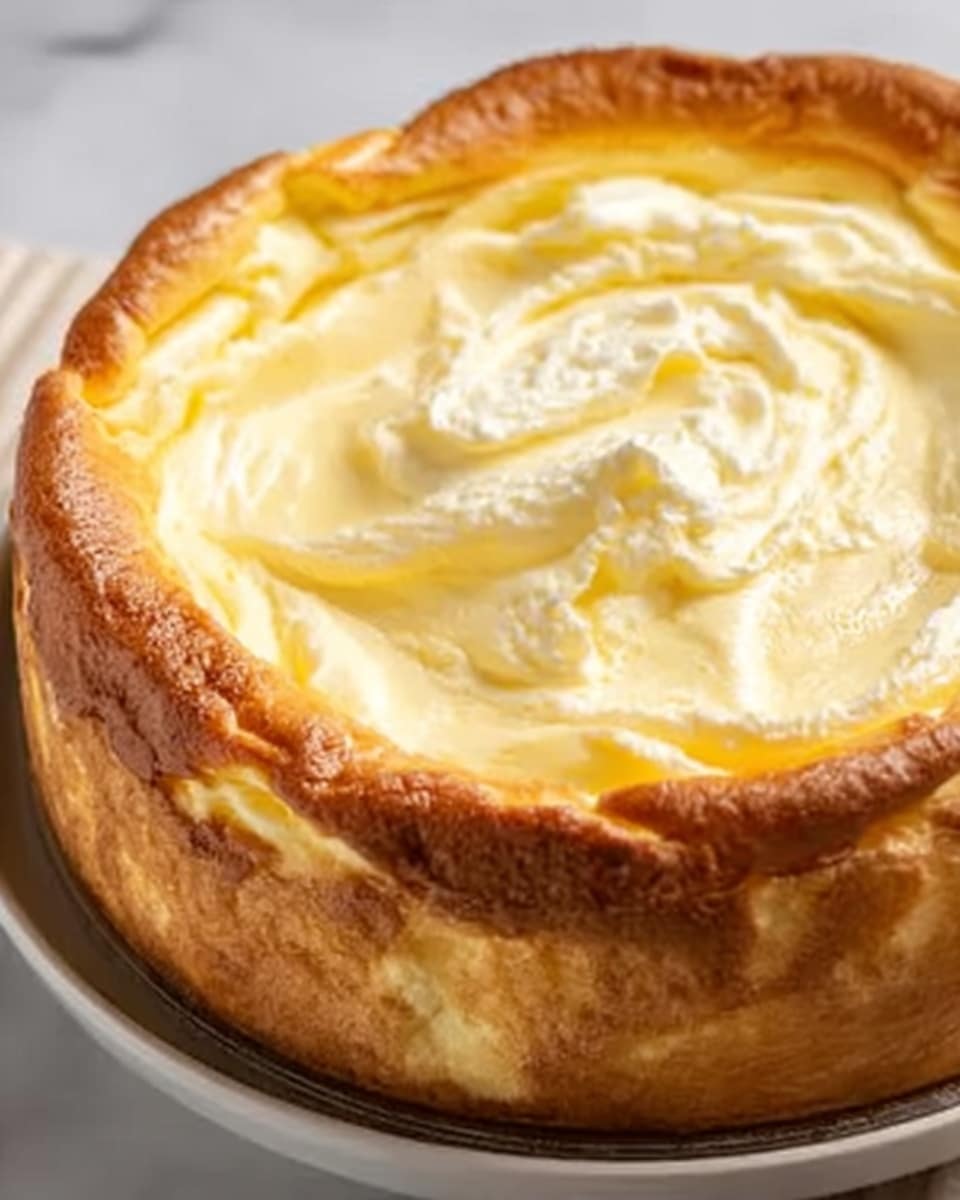
This classic layered cake is a delightful treat with a light, tender dough and a rich, creamy filling. Perfect for special occasions or an indulgent dessert, it combines simple ingredients into a deliciously elegant dessert.
Ingredients
- 150 grams (1 ½ cups) all-purpose flour
- 100 ml (½ cup) water
- 100 ml (½ cup) milk
- 80 grams (⅓ cup) butter
- 4 large eggs
- 1 teaspoon baking powder
- ½ teaspoon salt
- 500 ml (2 cups) milk
- 150 grams (¾ cup) sugar
- 100 grams (1 cup) all-purpose flour
- 2 large eggs
- 180 grams (¾ cup) butter
- Icing sugar or your favorite garnish
Instructions
- Step 1: In a saucepan over medium heat, melt 80 grams of butter. Add 100 ml milk, 100 ml water, and ½ teaspoon salt. Stir until the butter melts completely and the mixture is combined.
- Step 2: In a separate bowl, whisk together 150 grams flour and 1 teaspoon baking powder to evenly distribute the baking powder.
- Step 3: Once the liquid mixture boils, reduce the heat. Gradually add the dry flour mixture, stirring constantly to avoid lumps. Cook until the dough pulls away from the pan’s sides and forms a smooth ball.
- Step 4: Transfer the dough to a bowl and let it cool until warm but not hot. Add 4 eggs one at a time, mixing thoroughly after each until the dough is smooth and slightly sticky.
- Step 5: Preheat your oven to 400°F (200°C). Line a 25cm round baking pan with parchment paper. Divide dough into two equal parts. Spread one portion in the pan and bake for 20 minutes on the middle rack. Repeat with the second portion. Let layers cool completely.
- Step 6: For the cream filling, beat 2 eggs and 150 grams sugar in a bowl until pale and frothy. Add 100 grams flour gradually, then whisk in 500 ml milk until smooth.
- Step 7: Pour the mixture into a saucepan and cook over medium heat, stirring constantly until it thickens. Once boiling, continue to cook for 3 minutes. Remove from heat and cover with plastic wrap to cool.
- Step 8: Beat 180 grams butter in a clean bowl until light and fluffy. Gradually mix in the cooled cream mixture a little at a time until smooth and creamy.
- Step 9: Place one cake layer in a baking pan, spread half the cream filling over it. Top with the second cake layer and spread remaining cream evenly.
- Step 10: Refrigerate the assembled cake for at least 2 hours to let the filling set and flavors combine.
- Step 11: Before serving, dust the cake with icing sugar or your choice of garnish. Slice and enjoy!
Tips & Variations
- Ensure the dough is warm, not hot, before adding eggs to prevent curdling.
- Use fresh eggs for best texture in the filling.
- Try adding vanilla extract or lemon zest to the cream filling for extra flavor.
- You can substitute icing sugar garnish with cocoa powder, chopped nuts, or fresh berries.
Storage
Store the cake covered in the refrigerator for up to 3 days. Reheat slices briefly at room temperature for the best taste, or serve chilled as preferred.
How to Serve
Serve this delicious recipe with your favorite sides.
FAQs
Can I make this cake dairy-free?
Yes, substitute butter with a dairy-free alternative and use a plant-based milk like almond or oat milk in equal amounts.
How do I know when the dough is ready before adding the eggs?
The dough should pull away cleanly from the sides of the pan and form a smooth ball. It should be warm to the touch but not hot to avoid cooking the eggs prematurely.
PrintClassic Cream-Filled Layer Cake Recipe

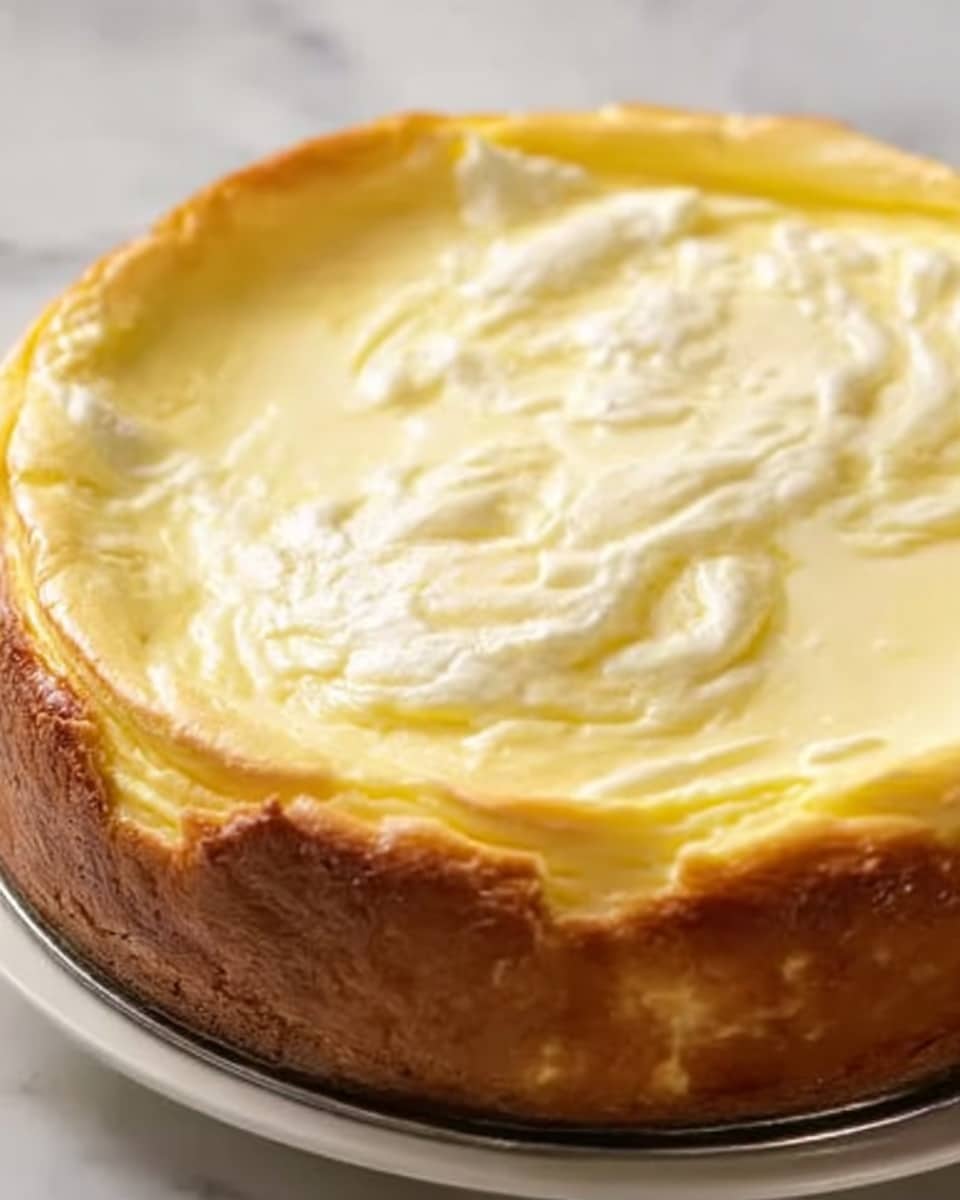
This delightful layered cake features a tender baked dough combined with a rich, creamy filling. The cake layers are made with a blend of flour, eggs, milk, and butter, cooked to form a smooth dough, then baked to golden perfection. A luscious cream filling, made from eggs, sugar, milk, and butter, perfectly balances the texture and flavor of the cake. Finished with a dusting of icing sugar, this cake is perfect for celebrations or a special treat.
- Prep Time: 25 minutes
- Cook Time: 40 minutes
- Total Time: 1 hour 5 minutes plus 2 hours chilling
- Yield: 8 servings 1x
- Category: Dessert
- Method: Baking
- Cuisine: European
Ingredients
For the Cake Layers
- 150 grams (1 ½ cups) all-purpose flour
- 100 ml (½ cup) water
- 100 ml (½ cup) milk
- 80 grams (⅓ cup) butter
- 4 large eggs
- 1 teaspoon baking powder
- ½ teaspoon salt
For the Cream Filling
- 500 ml (2 cups) milk
- 150 grams (¾ cup) sugar
- 100 grams (1 cup) all-purpose flour
- 2 large eggs
- 180 grams (¾ cup) butter
For Garnish
- Icing sugar or your favorite garnish
Instructions
- Preparing the Dough: Start by melting the butter over medium heat in a saucepan. Add the water, milk, and salt, stirring until the butter melts and liquids combine.
- Mix the Dry Ingredients: In a separate bowl, whisk together the flour and baking powder to evenly distribute the leavening agent.
- Incorporate the Dry Mixture: Bring the liquid mixture to a boil, then reduce the heat and gradually add the flour mixture, stirring constantly. Cook the mixture until it pulls away from the pan sides and forms a smooth dough ball.
- Cool and Add Eggs: Transfer the dough to a bowl and let it cool slightly. Add eggs one at a time, mixing thoroughly with each addition until the dough is smooth and slightly sticky.
- Bake the Layers: Preheat the oven to 400°F (200°C). Line a 25 cm round pan with parchment paper. Divide the dough into two portions, spread one evenly in the pan, and bake for 20 minutes on the middle rack. Repeat with the second portion to create two layers. Let them cool completely.
- Making the Cream Filling – Whisk the Base Ingredients: Beat the eggs and sugar in a bowl until pale and frothy. Gradually add the flour followed by the milk, whisking to make a smooth batter.
- Cook the Cream Mixture: Pour the batter into a saucepan and cook over medium heat, stirring constantly to avoid lumps. Once it thickens and boils, cook for an additional three minutes. Remove from heat and cover with plastic wrap to cool.
- Blend the Butter and Cream: Beat the butter in a separate bowl until light and fluffy. Gradually blend in the cooled cream mixture, adding a few spoonfuls at a time until smooth and creamy.
- Assembling the Cake – Layer the Cake: Place one cake layer in a clean pan and spread half of the cream filling evenly on top. Add the second cake layer and spread the remaining cream over it.
- Chill the Cake: Refrigerate the assembled cake for at least two hours to set the cream and allow flavors to meld.
- Garnish and Serve: Dust the cake with icing sugar or your preferred garnish before slicing. Serve and enjoy this luscious layered dessert.
Notes
- Ensure the dough cools before adding eggs to prevent them from cooking prematurely.
- Stir the cream mixture constantly while cooking to avoid lumps and burning.
- You can customize the garnish with fresh fruit, chocolate shavings, or nuts to add texture and flavor.
- Allow the cake to chill thoroughly for best texture and flavor melding.
- Use room temperature eggs and butter for easier incorporation and smooth batter consistency.
Keywords: layered cake, creamy filling, baked cake, dessert recipe, homemade cake, easy cake recipe