Easy Crispy Korean Fried Chicken Recipe
Introduction
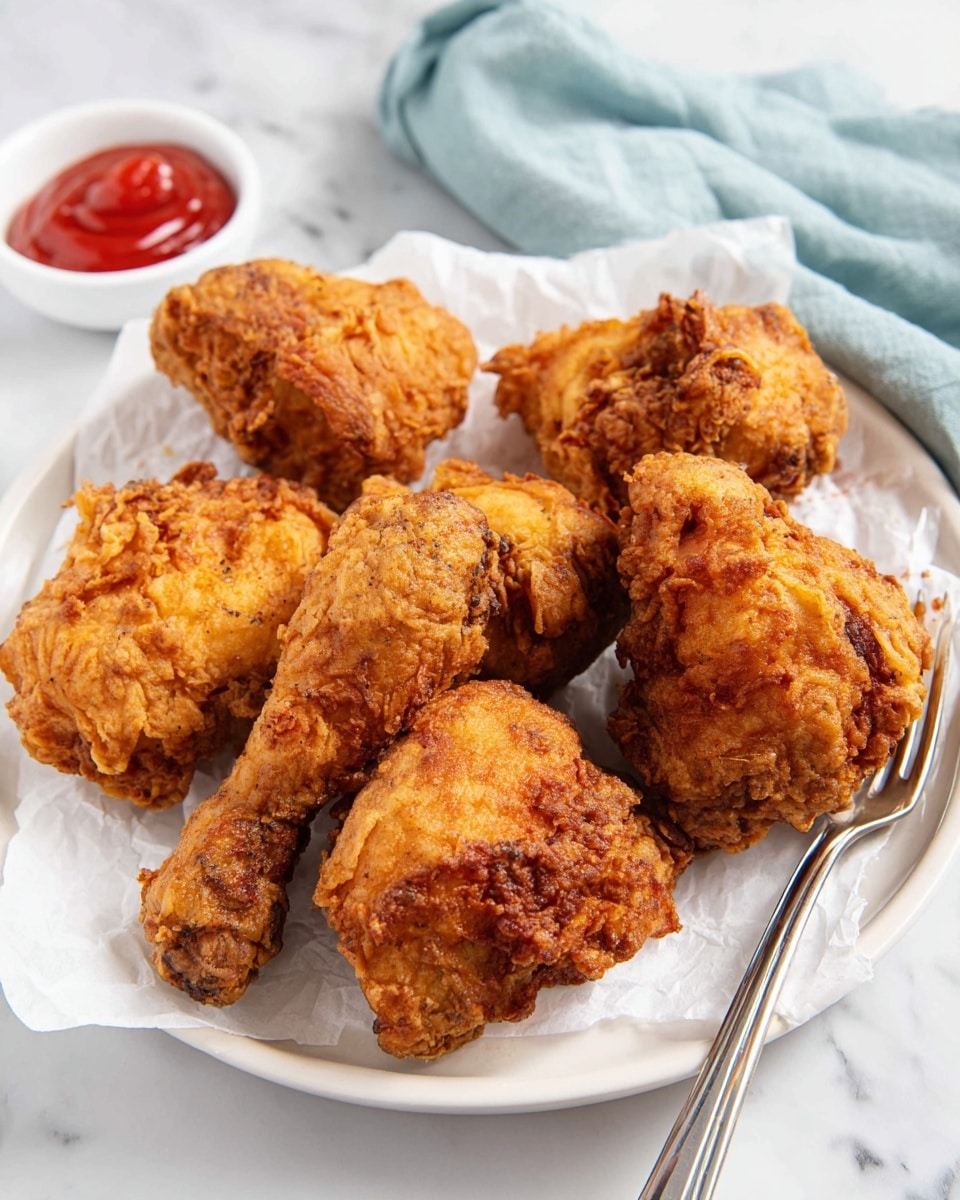
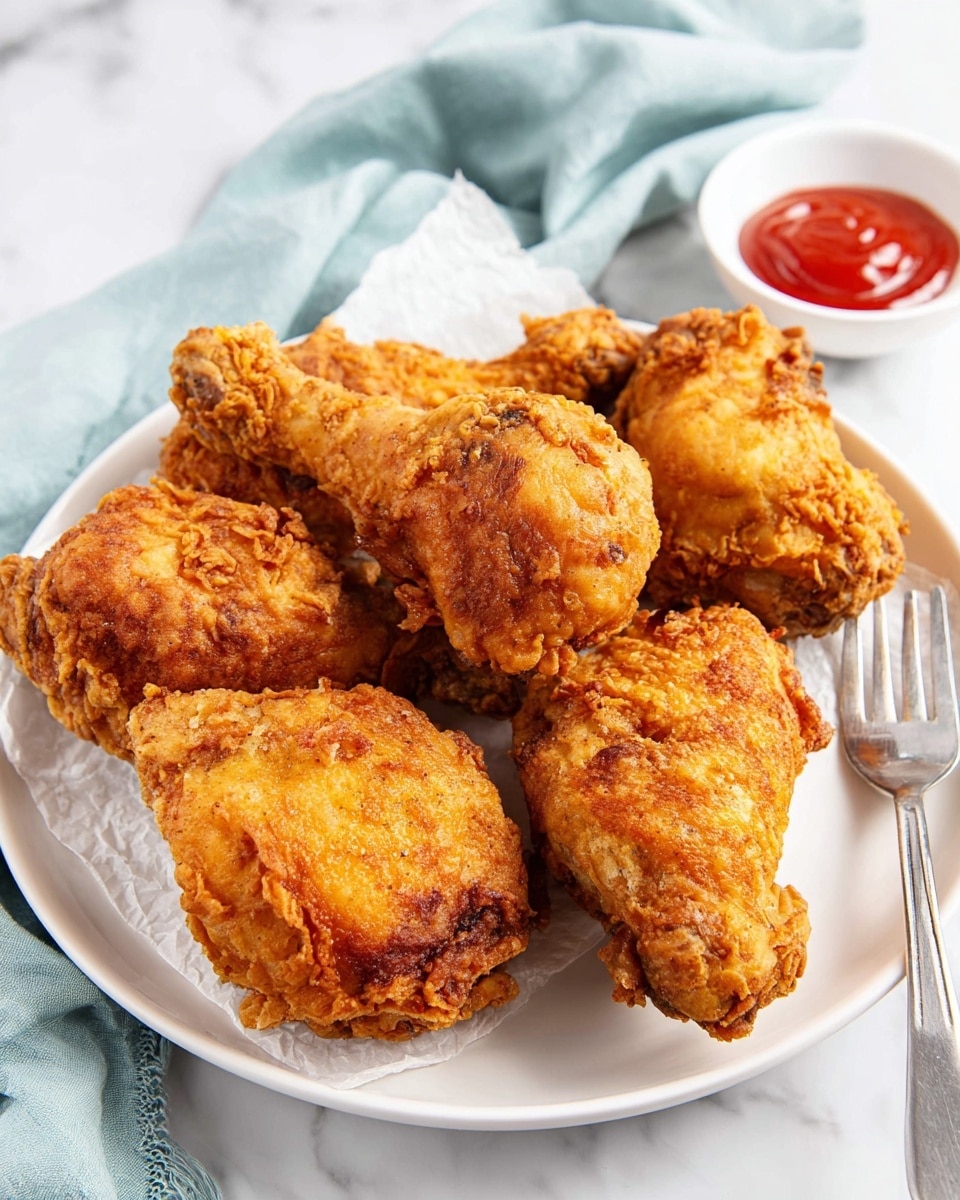
Discover the delicious crunch of Easy Crispy Korean Fried Chicken. This recipe delivers tender, flavorful chicken with a perfectly crispy coating that’s irresistible. Perfect for a weeknight dinner or a casual gathering.
Ingredients
- 8 chicken drumsticks
- 4 cups vegetable oil (or any neutral oil)
- 1 tbsp dry sherry (or substitute with white wine or rice vinegar)
- 1/4 tsp black pepper
- 1.5 tsp regular soy sauce (or substitute with gluten-free soy sauce, tamari sauce, or coconut aminos)
- 1 tbsp garlic (minced)
- 1/2 tsp salt
- 1.25 cups tapioca starch (aka tapioca flour; substitute with potato starch or cornstarch)
- 1/2 tsp onion powder
- 1 tsp garlic powder
- 1.5 tsp curry powder
- 1/2 tsp salt
- 1/4 tsp black pepper
- 1 tsp baking powder
- 1/2 cup + 2 tbsp cold water
Instructions
- Step 1: In a large mixing bowl, combine the marinade ingredients: dry sherry, black pepper, soy sauce, minced garlic, and 1/2 tsp salt. Add the chicken drumsticks and marinate for at least 10 minutes or overnight for the best flavor.
- Step 2: In another large mixing bowl, whisk together tapioca starch, onion powder, garlic powder, curry powder, 1/2 tsp salt, black pepper, baking powder, and cold water until you have a thick but runny batter. The batter will settle and thicken; stir it again before using.
- Step 3: Add the marinated chicken to the batter and mix thoroughly, coating each piece evenly. You’ll need some strength to ensure the chicken is fully covered.
- Step 4: Heat the vegetable oil in a large wok or heavy-bottomed pot over medium heat until it reaches about 350°F. To test, place a wooden chopstick into the oil—if bubbles form around it, the oil is ready.
- Step 5: Carefully lower the battered chicken into the hot oil in small batches (about 4 pieces per batch) to avoid overcrowding. The batter may run off slightly, which is normal.
- Step 6: Fry the drumsticks for about 10 minutes on each side, turning occasionally until they are golden, crispy, and cooked through. The internal temperature should reach 165°F when checked with a digital thermometer.
- Step 7: Remove the chicken from the oil and place it on a wire rack or a paper towel-lined baking sheet to drain excess oil. Serve immediately and enjoy your crispy Korean fried chicken!
Tips & Variations
- For extra flavor, marinate the chicken overnight in the refrigerator.
- Substitute tapioca starch with potato starch or cornstarch if unavailable.
- Adjust curry powder amount to suit your taste for a more or less pronounced spice.
- Use a thermometer to maintain consistent oil temperature for perfect crispiness.
Storage
Store leftover fried chicken in an airtight container in the refrigerator for up to 3 days. To reheat, place the chicken on a baking rack in a preheated oven at 350°F for 10-15 minutes to regain its crispiness. Avoid microwaving to keep the coating crunchy.
How to Serve
Serve this delicious recipe with your favorite sides.
FAQs
Can I use other chicken parts besides drumsticks?
Yes, wings, thighs, or boneless chicken pieces work well with this recipe. Just adjust frying time accordingly.
What if I don’t have a deep-frying thermometer?
Use the wooden chopstick test: place a chopstick in the warming oil and watch for steady bubbles forming around it, indicating the oil is ready for frying.
PrintEasy Crispy Korean Fried Chicken Recipe

This Easy Crispy Korean Fried Chicken recipe delivers perfectly golden, crunchy drumsticks with a flavorful marinade and a unique batter made from tapioca starch and spices. The chicken is marinated to enhance its taste, then fried to crispy perfection, making it a delicious and indulgent Korean-inspired dish perfect for sharing or a satisfying meal.
- Prep Time: 15 minutes (plus 10 minutes to overnight marinating)
- Cook Time: 20 minutes
- Total Time: 35 minutes (excluding marinating time)
- Yield: 8 drumsticks (serves 4-6) 1x
- Category: Main Course
- Method: Frying
- Cuisine: Korean
Ingredients
Marinade
- 8 chicken drumsticks
- 1 tbsp dry sherry (or white wine or rice vinegar)
- 1.5 tsp regular soy sauce (or gluten-free soy sauce, tamari, or coconut aminos)
- 1 tbsp garlic, minced
- 1/2 tsp salt
- 1/4 tsp black pepper
Batter
- 1.25 cups tapioca starch (or potato starch or cornstarch)
- 1/2 tsp onion powder
- 1 tsp garlic powder
- 1.5 tsp curry powder
- 1/2 tsp salt
- 1/4 tsp black pepper
- 1 tsp baking powder
- 1/2 cup + 2 tbsp cold water
Frying
- 4 cups vegetable oil (or any neutral oil)
Instructions
- Prepare the Marinade: In a large mixing bowl, combine the dry sherry, soy sauce, minced garlic, salt, and black pepper. Add the chicken drumsticks and marinate for at least 10 minutes or preferably overnight for deeper flavor infusion.
- Make the Batter: In another large bowl, mix tapioca starch, onion powder, garlic powder, curry powder, salt, black pepper, and baking powder. Gradually add the cold water and stir until you achieve a thick but runny batter. It may thicken or settle as it rests; stir again before using.
- Coat the Chicken: Add the marinated chicken drumsticks into the batter. Using your hands or a spoon, mix thoroughly to evenly coat each piece with the batter.
- Heat the Oil: Pour vegetable oil into a large wok, deep pan, or heavy-bottomed pot and heat over medium heat to approximately 350°F. Test the readiness of the oil by dipping a wooden chopstick into it; if bubbles form around the chopstick, the oil is hot enough.
- Fry the Chicken: Carefully and slowly lower the battered chicken pieces into the hot oil in small batches (about 4 pieces per batch) to avoid overcrowding. The batter might drip off initially, which is normal.
- Cook Until Crispy: Fry the chicken for about 10 minutes on each side, flipping occasionally to ensure even browning. The total frying time should be around 20 minutes. Confirm the chicken is cooked through with an internal temperature of 165°F using a digital thermometer.
- Drain Excess Oil: Remove the fried chicken and transfer to a wire rack or paper towel-lined baking sheet to drain excess oil. Serve hot and enjoy your crispy Korean fried chicken!
Notes
- Marinating overnight intensifies flavor and tenderizes the chicken.
- Use a thermometer to check oil temperature for perfect frying results.
- Do not overcrowd the pan to maintain proper oil temperature and crispy texture.
- Adapt soy sauce with gluten-free or tamari if avoiding gluten.
- Tapioca starch can be replaced with potato starch or cornstarch as thickening alternatives.
- Use neutral oil with high smoke point like vegetable oil for frying to prevent burning.
Keywords: Korean fried chicken, crispy fried chicken, Korean chicken recipe, deep fried chicken, Korean cuisine, drumstick recipe, crispy chicken batter