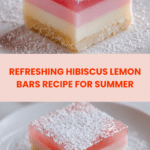
Hibiscus Lemon Bars Recipe
Introduction
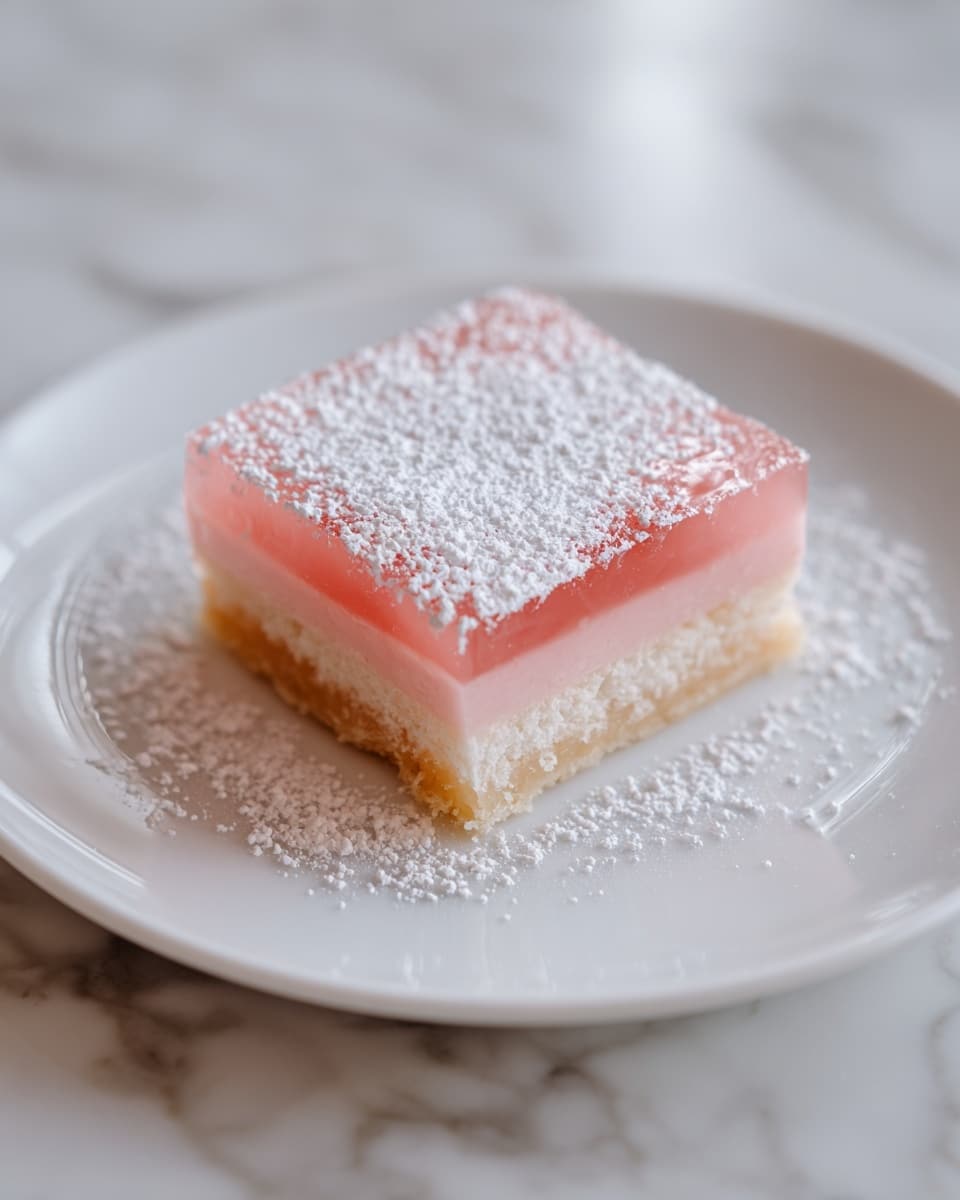
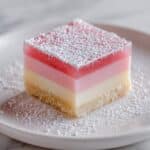
Bright and tangy, these Hibiscus Lemon Bars offer a refreshing twist on a classic dessert. The floral notes of hibiscus complement the zesty lemon filling perfectly, all atop a buttery, tender crust. They’re a delightful treat for any occasion.

Ingredients
- For the crust:
- 1/2 cup (1 stick) unsalted butter, room temperature
- 1/4 cup sugar
- 1 cup flour
- Pinch of salt
- 1 tsp vanilla bean paste
- For the filling:
- 1/2 cup fresh squeezed lemon juice
- 1 Tbsp dried hibiscus or hibiscus tea
- 3 large eggs
- 1 1/2 cups sugar
- 1/2 cup flour
- Garnish:
- Confectioner’s sugar
Instructions
- Step 1: Preheat your oven to 350°F (175°C).
- Step 2: In a stand mixer or with a hand mixer, cream together the butter, sugar, and vanilla bean paste until smooth.
- Step 3: Add the flour and salt, mixing just until combined. Avoid overmixing to keep the crust tender.
- Step 4: Press the dough evenly into the bottom of a 9×9 inch baking pan. Lightly flour your fingers to prevent sticking as you press.
- Step 5: Chill the crust in the refrigerator for 15 minutes.
- Step 6: Bake the crust for 15 minutes or until it is lightly browned. Remove from oven and set aside, keeping the oven on.
- Step 7: Meanwhile, stir the dried hibiscus into the fresh lemon juice and let it steep for 15 minutes until the liquid turns a rich dark pink color.
- Step 8: Strain the hibiscus from the lemon juice and discard the solids.
- Step 9: Whisk the eggs and sugar together in a bowl until well blended.
- Step 10: Stir the hibiscus-infused lemon juice into the egg mixture, then gently fold in the flour until smooth.
- Step 11: Pour the filling evenly over the baked crust.
- Step 12: Return the pan to the oven and bake for 20 to 25 minutes, until the filling is set and no longer jiggly in the center.
- Step 13: Allow the bars to cool completely before slicing.
- Step 14: Dust with confectioner’s sugar just before serving for a pretty finish.
Tips & Variations
- For a more intense hibiscus flavor, increase the hibiscus steeping time or amount slightly.
- If you prefer a tarter filling, add a teaspoon of lemon zest along with the juice.
- Use a fine mesh strainer when removing the hibiscus to avoid any bits in the filling.
- Try substituting hibiscus tea bags if dried hibiscus isn’t available.
Storage
Store the lemon bars in an airtight container in the refrigerator for up to 4 days. Let them come to room temperature or chill before serving. For longer storage, freeze the bars wrapped tightly for up to 1 month; thaw in the fridge overnight before serving.
How to Serve
Serve this delicious recipe with your favorite sides.
FAQs
Can I use fresh hibiscus instead of dried?
Fresh hibiscus can be used but often has a stronger, more astringent flavor. Use sparingly and taste the infusion before adding it to the filling.
How do I know when the filling is done?
The filling should look set around the edges and only slightly wobbly in the center. It will firm up more as it cools, so avoid overbaking to keep a smooth texture.
PrintHibiscus Lemon Bars Recipe
These Hibiscus Lemon Bars offer a delightful twist on a classic lemon bar recipe by infusing the filling with floral hibiscus tea for a beautiful pink hue and a subtle tart flavor. With a buttery crust and tangy, sweet filling, they make a perfect treat for any occasion.
- Prep Time: 20 minutes
- Cook Time: 40 minutes
- Total Time: 1 hour
- Yield: 16 bars (9×9 inch pan) 1x
- Category: Dessert
- Method: Baking
- Cuisine: American
Ingredients
Crust
- 1/2 cup (1 stick) unsalted butter, room temperature
- 1/4 cup sugar
- 1 cup all-purpose flour
- Pinch of salt
- 1 tsp vanilla bean paste
Filling
- 1/2 cup fresh squeezed lemon juice
- 1 Tbsp dried hibiscus or hibiscus tea
- 3 large eggs
- 1 1/2 cups sugar
- 1/2 cup all-purpose flour
Garnish
- Confectioner’s (powdered) sugar
Instructions
- Prepare the crust: Preheat your oven to 350°F (177°C). In a stand mixer or with a hand mixer, cream together the room temperature unsalted butter, sugar, and vanilla bean paste until smooth and fluffy. Gradually add the flour and a pinch of salt, mixing just until combined. Press the dough evenly into the bottom of a lightly floured 9×9 inch baking pan. Chill the crust in the refrigerator for 15 minutes to firm up.
- Bake the crust: Place the chilled crust in the preheated oven and bake for 15 minutes, or until the edges are just lightly browned. Remove from the oven and set aside to cool while keeping the oven on.
- Make the hibiscus lemon filling: Stir the dried hibiscus into the fresh lemon juice and let it steep for 15 minutes until the juice turns a dark pink color. Strain the lemon juice to remove the hibiscus flowers and discard them. In a mixing bowl, whisk together the eggs and sugar until well blended and slightly frothy. Gradually stir in the hibiscus-infused lemon juice, then fold in the flour until you have a smooth batter.
- Bake the filling: Pour the hibiscus lemon filling evenly over the baked crust. Return the pan to the oven and bake for an additional 20-25 minutes until the center is set and no longer jiggly.
- Cool and garnish: Remove the bars from the oven and allow them to cool fully at room temperature. Once cooled, dust generously with confectioner’s sugar before slicing into squares and serving.
Notes
- For best results, use fresh lemon juice to enhance the tartness of the bars.
- Make sure to chill the crust before baking to prevent shrinking and achieve a crisp texture.
- Steeping hibiscus tea in the lemon juice not only imparts color but adds a subtle floral tartness that balances the sweetness.
- The bars can be stored in an airtight container in the refrigerator for up to 4 days.
- Use a sharp knife to cut the bars for clean slices, wiping the knife between cuts if needed.
Keywords: hibiscus lemon bars, lemon bars recipe, hibiscus dessert, fruity lemon bars, floral lemon bars