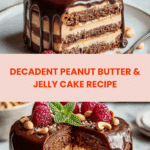
Peanut Butter & Jelly Cake Recipe
Introduction
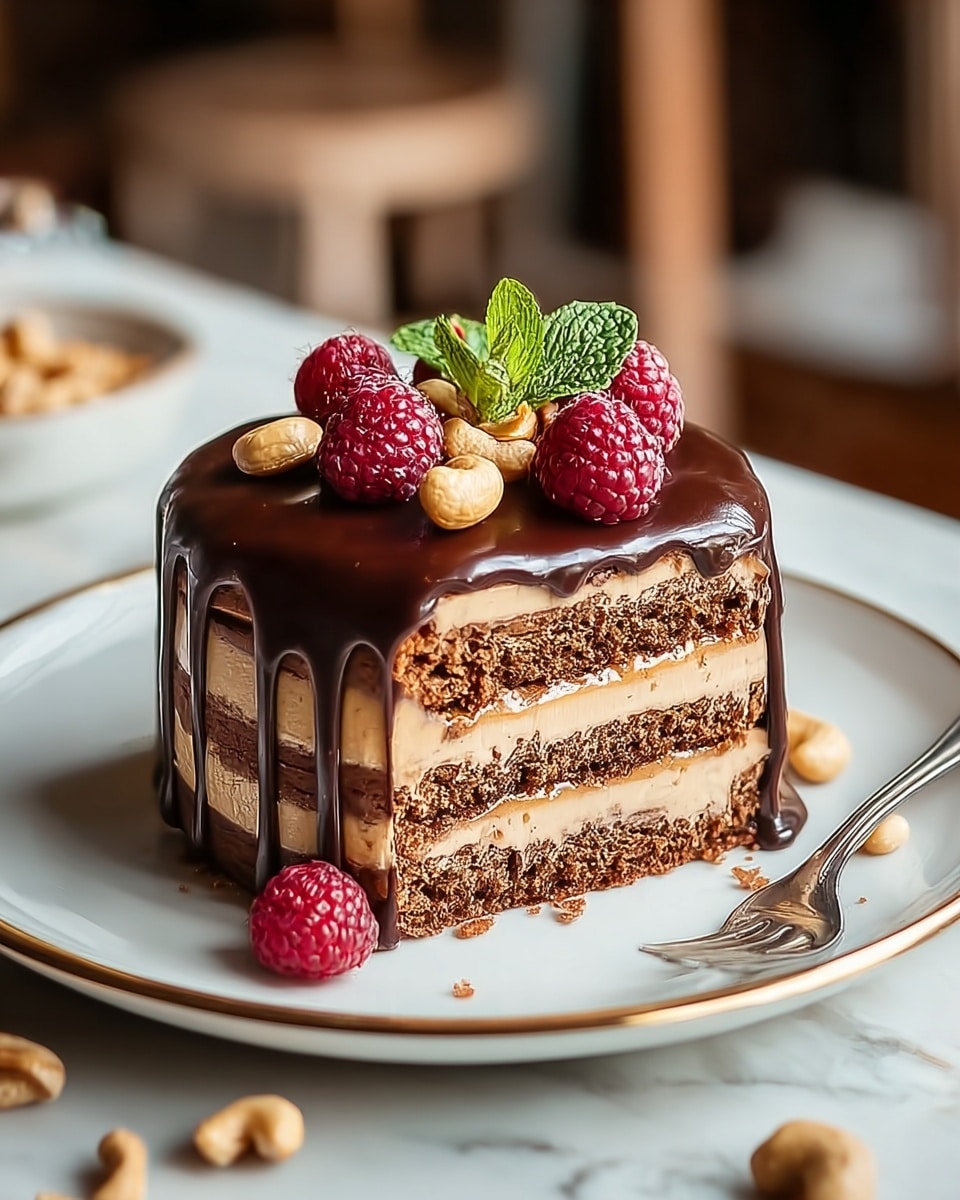
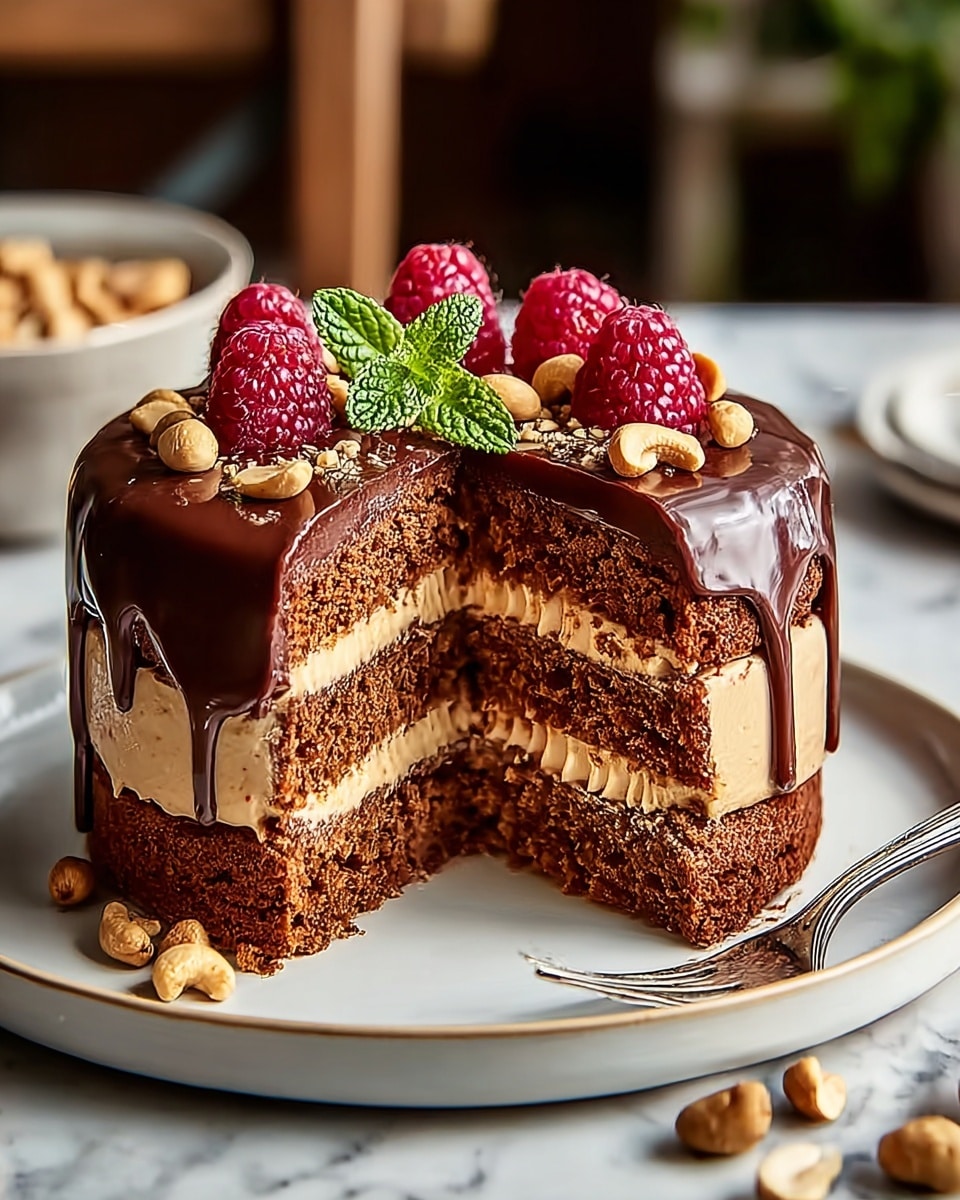
This Peanut Butter & Jelly Cake combines the nostalgic flavors of a classic sandwich into a moist, layered dessert. With creamy peanut butter frosting and a sweet jelly center, it’s perfect for a fun twist on a traditional cake that everyone will love.
Ingredients
- 2 cups all-purpose flour
- 1 ½ cups granulated sugar
- ½ cup creamy peanut butter
- ½ cup unsalted butter, softened
- 1 cup milk (whole or 2%)
- 3 large eggs
- 1 tablespoon baking powder
- ½ teaspoon baking soda
- ½ teaspoon salt
- 1 teaspoon vanilla extract
- 1 cup of your favorite jelly (grape or strawberry)
- 1 cup creamy peanut butter (for frosting)
- ½ cup unsalted butter, softened (for frosting)
- 4 cups powdered sugar
- ¼ cup milk (adjust for consistency)
- 1 teaspoon vanilla extract (for frosting)
Instructions
- Step 1: Preheat the oven to 350°F (175°C). Grease and flour two 9-inch round cake pans, or line them with parchment paper.
- Step 2: In a bowl, whisk together the flour, baking powder, baking soda, and salt.
- Step 3: In another bowl, beat the peanut butter and softened butter until smooth. Gradually add the granulated sugar, mixing well.
- Step 4: Add eggs one at a time, beating well after each addition, then mix in the vanilla extract.
- Step 5: Alternate adding the dry mixture and milk to the peanut butter mixture, starting and ending with the dry ingredients. Mix just until combined.
- Step 6: Divide the batter evenly between the prepared pans and smooth the tops. Bake for 25-30 minutes, or until a toothpick inserted in the center comes out clean.
- Step 7: Let the cakes cool in the pans for 10 minutes, then transfer to a wire rack to cool completely.
- Step 8: To make the frosting, beat together peanut butter and softened butter until creamy. Gradually add powdered sugar and milk, mixing until you reach a smooth, spreadable consistency. Stir in the vanilla extract.
- Step 9: Place one cake layer on a serving plate. Spread the jelly evenly over it, then add a layer of peanut butter frosting.
- Step 10: Top with the second cake layer and frost the top and sides of the cake with the remaining frosting.
- Step 11: Slice and enjoy your Peanut Butter & Jelly Cake!
Tips & Variations
- Use crunchy peanut butter if you prefer a bit of texture in your frosting and cake batter.
- Swap the jelly for preserves like raspberry or mixed berry for a different fruit flavor.
- If you want a richer cake, substitute whole milk with buttermilk.
- Chill the cake for an hour before serving to let the flavors meld and make frosting easier to cut.
Storage
Store the cake in an airtight container in the refrigerator for up to 4 days. Before serving, let it sit at room temperature for about 20 minutes for the best texture. Leftover slices can be warmed slightly in the microwave for a few seconds if desired.
How to Serve
Serve this delicious recipe with your favorite sides.
FAQs
Can I use natural peanut butter for this cake?
Yes, you can use natural peanut butter, but because it tends to be oilier, you may need to stir it well before measuring and be mindful that it might affect the texture slightly.
Is it possible to make this cake gluten-free?
Absolutely! Substitute the all-purpose flour with a 1-to-1 gluten-free baking flour blend and make sure your baking powder is gluten-free as well for best results.
PrintPeanut Butter & Jelly Cake Recipe
A deliciously rich and moist Peanut Butter & Jelly Cake combining the classic flavors of creamy peanut butter and sweet jelly in a moist layered cake, topped with a smooth peanut butter frosting. Perfect for dessert lovers seeking a nostalgic treat with a modern twist.
- Prep Time: 20 minutes
- Cook Time: 30 minutes
- Total Time: 50 minutes
- Yield: 12 servings 1x
- Category: Dessert
- Method: Baking
- Cuisine: American
Ingredients
For the Cake:
- 2 cups all-purpose flour
- 1 ½ cups granulated sugar
- ½ cup creamy peanut butter
- ½ cup unsalted butter, softened
- 1 cup milk (whole or 2%)
- 3 large eggs
- 1 tablespoon baking powder
- ½ teaspoon baking soda
- ½ teaspoon salt
- 1 teaspoon vanilla extract
For the Jelly Layer:
- 1 cup of your favorite jelly (grape or strawberry)
For the Peanut Butter Frosting:
- 1 cup creamy peanut butter
- ½ cup unsalted butter, softened
- 4 cups powdered sugar
- ¼ cup milk (adjust for consistency)
- 1 teaspoon vanilla extract
Instructions
- Prepare Your Oven and Pans: Preheat the oven to 350°F (175°C). Grease and flour two 9-inch round cake pans or line them with parchment paper to prevent sticking.
- Mix Dry Ingredients: In a medium bowl, whisk together the all-purpose flour, baking powder, baking soda, and salt to ensure even distribution of leavening agents and seasoning.
- Cream Peanut Butter and Butter: In a large bowl, beat the creamy peanut butter and softened unsalted butter together until smooth and well combined. Gradually add the granulated sugar, beating continuously until fully incorporated and fluffy. Add the eggs one at a time, mixing well after each addition, then stir in the vanilla extract for aroma and flavor.
- Combine Ingredients: Alternately add the dry flour mixture and milk to the peanut butter mixture, starting and ending with the dry ingredients. Mix gently until just combined to avoid overmixing, which can result in a dense cake.
- Bake: Pour the batter evenly into the prepared cake pans, smoothing the tops with a spatula. Bake in the preheated oven for 25-30 minutes or until a toothpick inserted into the center comes out clean. Allow cakes to cool in the pans for 10 minutes before transferring them to a wire rack to cool completely.
- Prepare the Frosting: While the cakes cool, beat together the creamy peanut butter and softened butter until smooth. Gradually add powdered sugar and ¼ cup of milk, adjusting the amount for desired consistency, then mix in the vanilla extract. Beat until the frosting is creamy and smooth.
- Assemble the Cake: Place one cooled cake layer on a serving plate. Spread the jelly evenly over the layer, followed by a generous layer of peanut butter frosting. Place the second cake layer on top and frost the top and sides of the cake with the remaining peanut butter frosting, smoothing it out for an even finish.
- Serve: Slice the cake into pieces and enjoy the nostalgic and indulgent peanut butter and jelly flavor combination.
Notes
- You can use either grape or strawberry jelly depending on your preference.
- Adjust milk in the frosting to get the perfect spreadable consistency—add a little more if too thick.
- Be careful not to overmix the batter to keep the cake light and fluffy.
- Make sure cake layers are completely cool before frosting to prevent melting.
- Store leftover cake covered in the refrigerator for up to 3 days for best freshness.
Keywords: Peanut Butter Cake, Jelly Cake, Layer Cake, Dessert, Peanut Butter Frosting, Classic Flavors