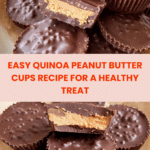
Quinoa Crunch Peanut Butter Cups Recipe
Introduction
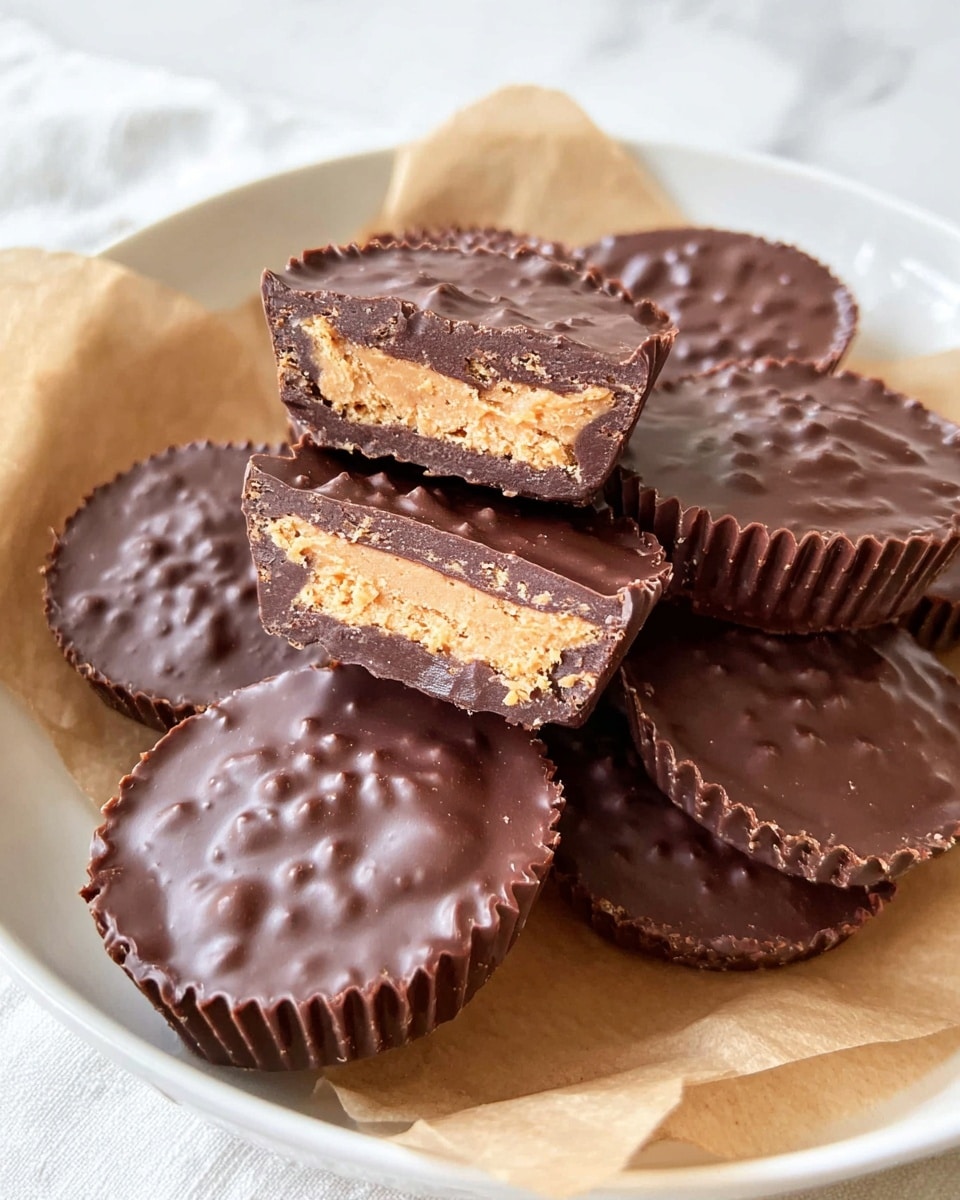
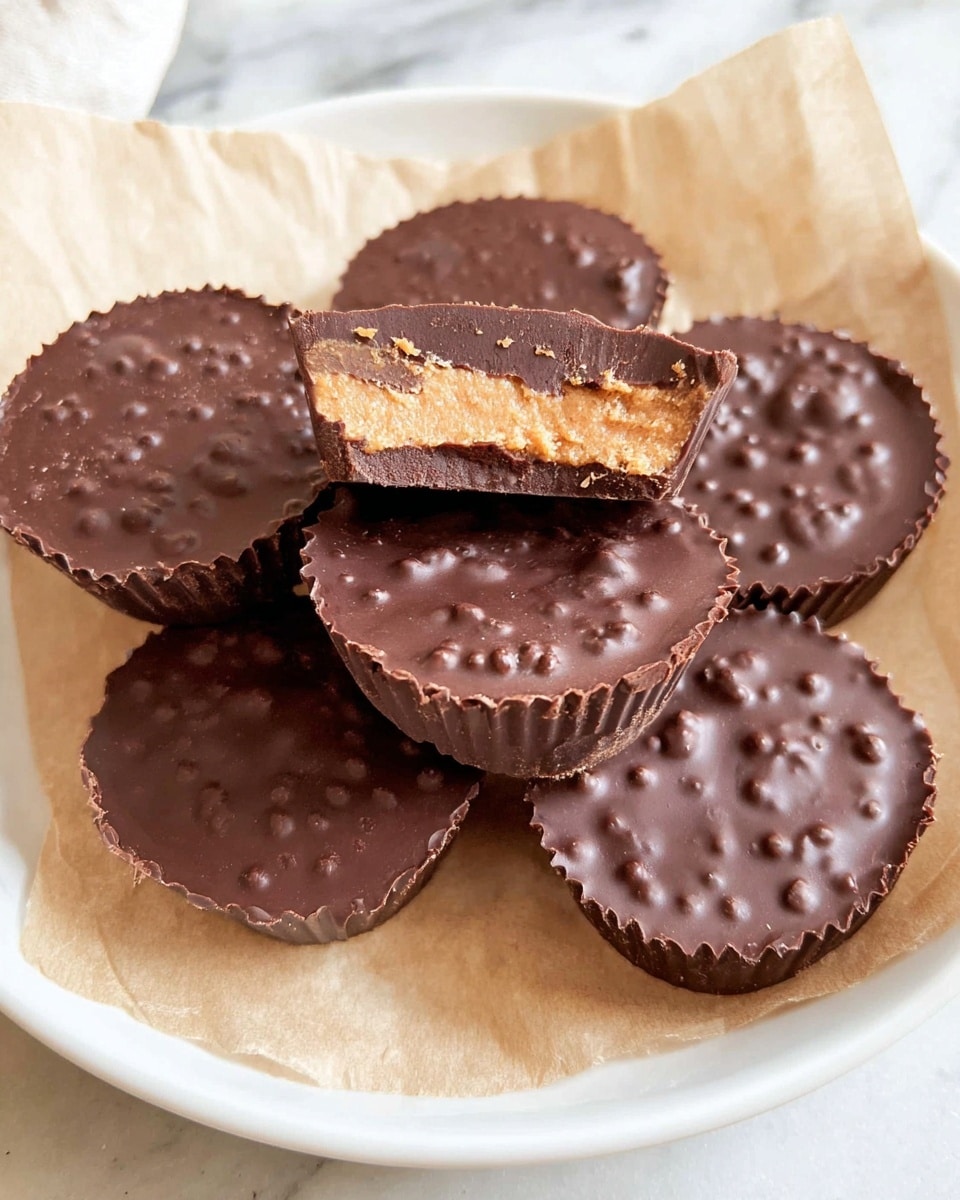
These Quinoa Crunch Peanut Butter Cups offer a delightful combination of rich chocolate, creamy peanut butter, and a satisfying quinoa crisp texture. They make a perfect homemade treat that balances indulgence with a bit of crunch.
Ingredients
- 1 cup dark chocolate
- 1 tbsp coconut oil
- 2 tbsp peanut butter
- 3 tbsp quinoa crisps
- 1/3 cup peanut butter
- 1 tbsp maple syrup
- 1 tbsp coconut flour
Instructions
- Step 1: Add the dark chocolate and coconut oil to a medium bowl. Microwave in 30-second increments, stirring well after each, until the chocolate is smooth and creamy.
- Step 2: Stir in 2 tablespoons of peanut butter and the quinoa crisps into the melted chocolate mixture, then set it aside.
- Step 3: In a small bowl, combine the remaining peanut butter with the maple syrup.
- Step 4: Gently fold in the coconut flour to the peanut butter mixture until it thickens slightly.
- Step 5: Spoon about half a tablespoon of the chocolate mixture into the bottom of silicone cupcake liners.
- Step 6: Roll 1 teaspoon of the peanut butter mixture into a ball and flatten it slightly. Place it in the center of the chocolate layer in each liner, avoiding contact with the sides.
- Step 7: Cover the peanut butter layer with more of the chocolate mixture until the liners are nearly full.
- Step 8: Freeze the cups until fully firm, then carefully remove them from the liners and enjoy.
Tips & Variations
- Use silicone cupcake liners for easy removal and less mess.
- Swap quinoa crisps with puffed rice or crushed nuts for a different crunch.
- Try natural or crunchy peanut butter for extra texture.
- Adjust the sweetness by using more or less maple syrup according to taste.
Storage
Store the peanut butter cups in an airtight container in the freezer for up to two weeks. Allow them to sit at room temperature for a few minutes before serving for best texture. Avoid storing at room temperature as they may soften too much.
How to Serve
Serve this delicious recipe with your favorite sides.
FAQs
Can I use milk chocolate instead of dark chocolate?
Yes, feel free to use milk chocolate if you prefer a sweeter and creamier flavor, though dark chocolate adds a nice balance to the peanut butter.
Are quinoa crisps necessary for this recipe?
They add a delightful crunch, but you can substitute them with puffed rice, crushed nuts, or even omit them if you want a smoother texture.
PrintQuinoa Crunch Peanut Butter Cups Recipe

These Quinoa Crunch Peanut Butter Cups combine the richness of dark chocolate with the satisfying crunch of quinoa crisps and the creamy goodness of peanut butter. Sweetened naturally with maple syrup and lightly thickened with coconut flour, they make a perfect no-bake treat that’s both indulgent and a bit healthier. Ideal for a quick dessert or snack, these cups deliver a delightful mix of textures and flavors that everyone will love.
- Prep Time: 10 minutes
- Cook Time: 5 minutes (melting chocolate)
- Total Time: 2 hours 15 minutes (including freezing time)
- Yield: 12 peanut butter cups 1x
- Category: Dessert
- Method: No-Cook
- Cuisine: American
- Diet: Vegetarian
Ingredients
Chocolate Layer
- 1 cup dark chocolate chips
- 1 tbsp coconut oil
- 2 tbsp peanut butter
- 3 tbsp quinoa crisps
Peanut Butter Filling
- 1/3 cup peanut butter
- 1 tbsp maple syrup
- 1 tbsp coconut flour
Instructions
- Melt Chocolate: Start by adding the dark chocolate chips and coconut oil into a medium-sized bowl. Microwave in 30-second increments, stirring thoroughly between each session until the chocolate is completely smooth and creamy.
- Mix Chocolate and Peanut Butter: Stir in 2 tablespoons of peanut butter and 3 tablespoons of quinoa crisps into the melted chocolate mixture. Set this blend aside for use as the chocolate coating.
- Prepare Peanut Butter Filling: In a small bowl, combine the remaining 1/3 cup of peanut butter with 1 tablespoon of maple syrup, mixing well to create a sweet filling.
- Thicken Filling: Gradually fold in 1 tablespoon of coconut flour into the peanut butter and maple syrup mixture until it thickens enough to hold shape.
- Layer Chocolate Base: Spoon about half a tablespoon of the chocolate mixture into the bottom of each silicone cupcake liner, spreading gently to cover.
- Shape Filling: Roll 1 teaspoon of the peanut butter filling into a small ball and flatten slightly. Place it carefully in the center of each chocolate base without letting it touch the sides to maintain a clean layer separation.
- Top with Chocolate: Cover the peanut butter filling completely with more of the chocolate mixture, ensuring the edges are sealed and smooth.
- Freeze to Set: Place the filled liners in the freezer and allow them to chill until fully firm, approximately 1 to 2 hours.
- Serve: Once set, remove the peanut butter cups from the silicone liners and enjoy immediately or store them frozen for later indulgence.
Notes
- Use silicone cupcake liners for easy removal without sticking.
- Dark chocolate with at least 70% cocoa works best for a rich flavor.
- You can substitute quinoa crisps with puffed rice or cereal for a different crunch.
- These cups keep well in the freezer for up to 2 weeks.
- Let them sit at room temperature for a few minutes before eating if too hard from freezing.
Keywords: peanut butter cups, quinoa crisps, dark chocolate, no bake dessert, healthy snack, vegan-friendly dessert