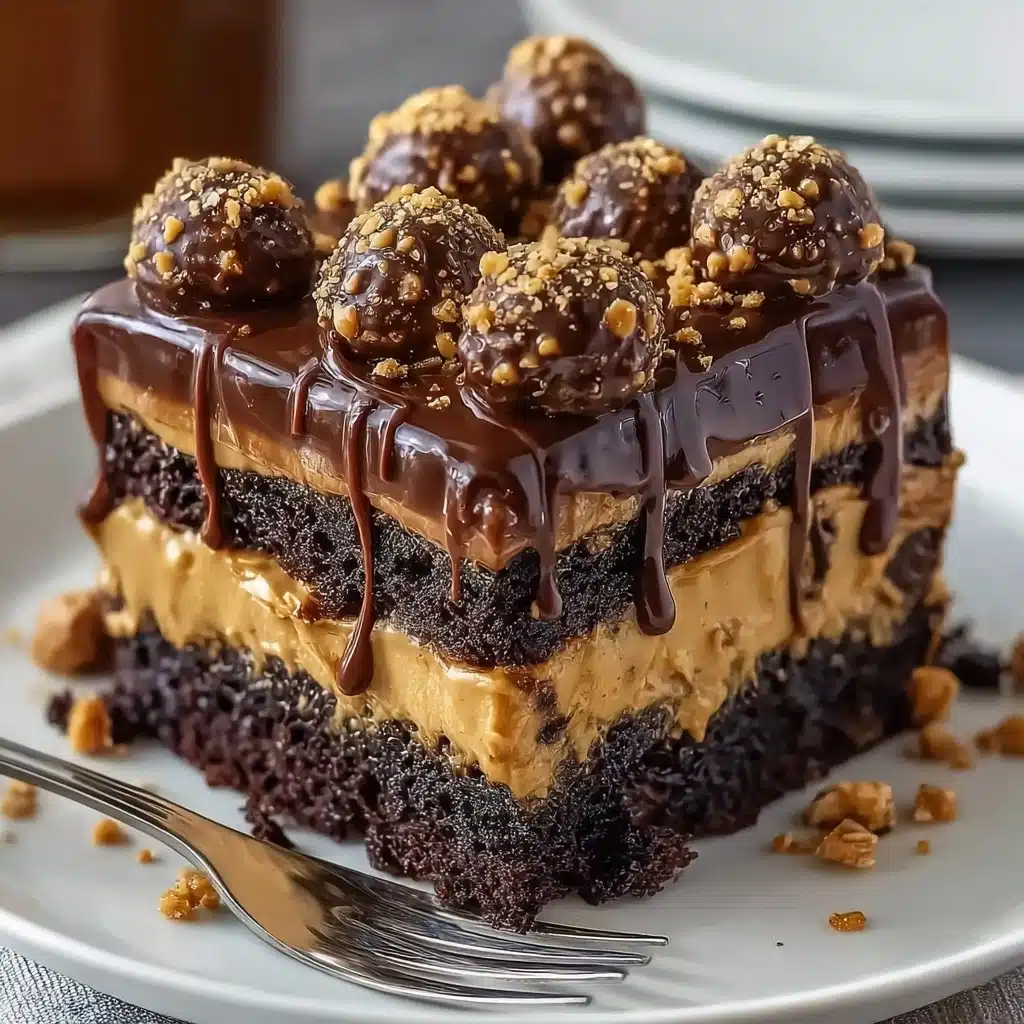
Reese’s Peanut Butter Earthquake Cake Recipe
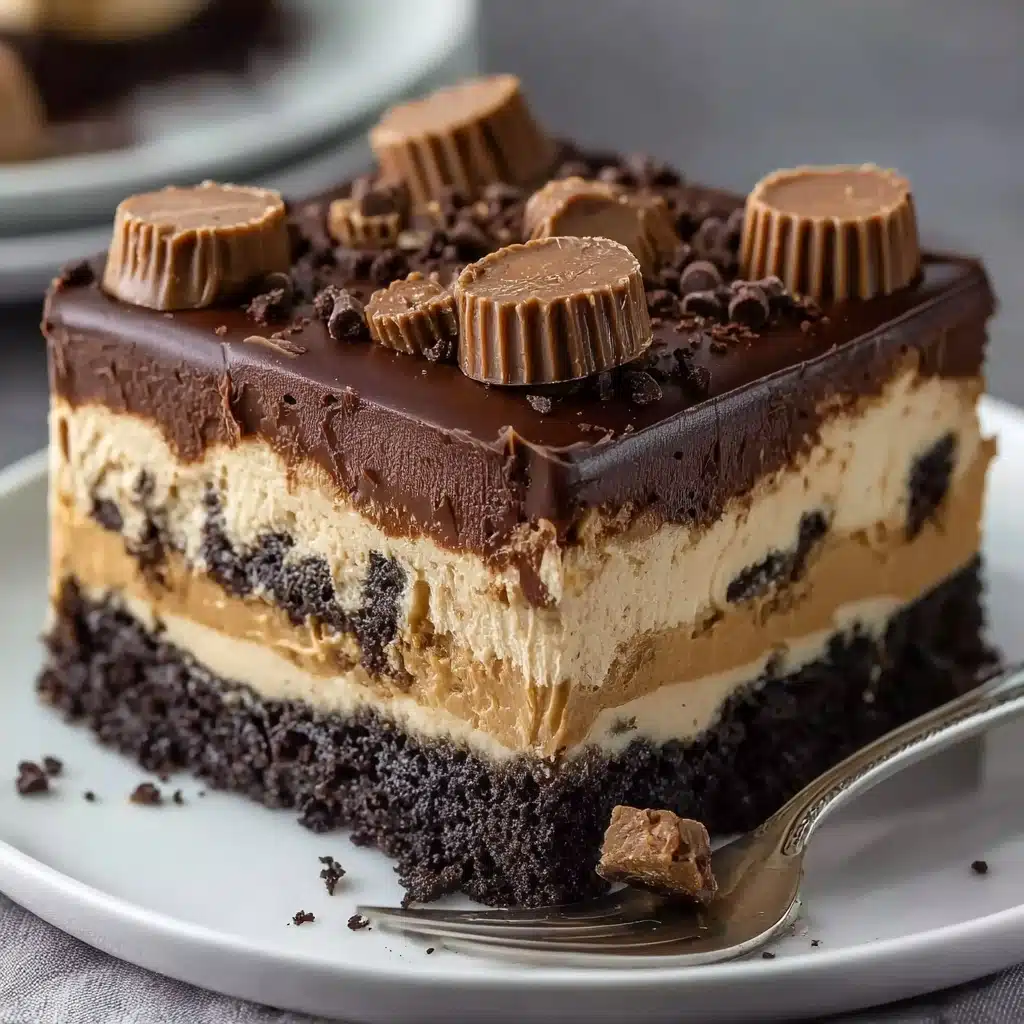
If you’re a devoted fan of everything chocolate and peanut butter, get ready to fall head over heels for the Reese’s Peanut Butter Earthquake Cake. This decadent dessert combines moist, rich chocolate cake with swirls of creamy peanut butter and tangy cream cheese, all topped off with chopped Reese’s Peanut Butter Cups that melt into pockets of pure bliss. It’s a sensational treat that surprises every bite with explosive flavor and texture, making it the perfect showstopper for any occasion or just a cozy night in.
Ingredients You’ll Need
These ingredients are simple pantry staples, yet together they create a symphony of flavor and an irresistible texture contrast. Each element plays a vital role in building the layers of creamy, fudgy, and crunchy goodness that define the Reese’s Peanut Butter Earthquake Cake.
- Chocolate cake mix: This is the base that delivers moist, chocolatey goodness with minimal effort.
- Water: Hydrates the cake mix to achieve the perfect batter consistency.
- Vegetable oil: Keeps the cake tender with its moist texture.
- Eggs: Bind everything together while adding richness.
- Creamy peanut butter: Brings that iconic, smooth peanut butter flavor into the cake.
- Cream cheese, softened: Adds a subtle tang and creamy contrast to the richness.
- Unsalted butter, melted: Enhances the silky texture of the peanut butter mixture.
- Powdered sugar: Sweetens and thickens the peanut butter swirl perfectly.
- Vanilla extract: Adds depth and warmth to the peanut butter mixture.
- Reese’s Peanut Butter Cups, chopped: The pièce de résistance that adds delightful pockets of melty chocolate and peanut butter throughout the cake.
How to Make Reese’s Peanut Butter Earthquake Cake
Step 1: Prep Your Oven and Pan
Start by preheating your oven to 350°F (175°C) and generously grease a 9×13-inch baking dish. This ensures your cake will bake evenly and release easily from the pan, setting the stage for a flawless dessert.
Step 2: Mix the Chocolate Cake Batter
In a large bowl, whisk together the chocolate cake mix, water, vegetable oil, and eggs until the batter is silky and smooth. Pour this luscious mixture into your prepared pan, forming the rich, chocolaty canvas for the peanut butter swirl.
Step 3: Create the Peanut Butter Swirl Mixture
Now, in a separate bowl, blend the creamy peanut butter, softened cream cheese, melted butter, powdered sugar, and vanilla extract until absolutely smooth. This mixture is the magic that will swirl through the cake, infusing every slice with irresistibly creamy richness.
Step 4: Combine and Swirl
Drop spoonfuls of the peanut butter mixture over the cake batter in the pan, then take a knife and gently swirl through the batter to create that iconic marbled effect. Don’t overdo it—you want those beautiful streaks of flavor and texture shining through.
Step 5: Add the Reese’s Peanut Butter Cups
Sprinkle the chopped Reese’s Peanut Butter Cups evenly on top of the swirled batter. These little nuggets will melt into gooey pockets during baking, offering an extra crunch and bursts of peanut buttery sweetness.
Step 6: Bake to Perfection
Bake the cake for 35 to 40 minutes. You’ll know it’s ready when a toothpick inserted near the center comes out mostly clean with just a few moist crumbs sticking to it—this keeps the cake delightfully fudgy without being raw.
Step 7: Cool and Enjoy
Let your Reese’s Peanut Butter Earthquake Cake cool slightly in the pan—this makes it easier to slice and lets the flavors settle. It’s perfect served warm, allowing the peanut butter cups to ooze, or at room temperature for an indulgently satisfying bite.
How to Serve Reese’s Peanut Butter Earthquake Cake
Garnishes
Top your cake slices with a dollop of whipped cream or a sprinkle of crushed peanuts to add an extra layer of texture and visual appeal. For a chocolate lover’s dream, drizzle some melted chocolate or a swirl of caramel sauce on top.
Side Dishes
This cake pairs beautifully with a scoop of vanilla ice cream, which cools down the rich, dense flavors. Fresh berries on the side can add a bright, tart contrast that rounds out the dessert experience.
Creative Ways to Present
For parties, consider cutting the cake into bite-sized squares and serve them on a platter garnished with mini Reese’s cups. Alternatively, layer warmed cake crumbs with peanut butter frosting to create an easy but decadent trifle that showcases the Reese’s Peanut Butter Earthquake Cake flavors in a fresh format.
Make Ahead and Storage
Storing Leftovers
Store leftover cake in an airtight container at room temperature for up to two days or in the refrigerator for up to a week. Keeping the cake covered ensures it stays moist and keeps those peanut butter swirls from drying out.
Freezing
You can freeze individual slices wrapped tightly in plastic wrap and then foil for up to three months. Thaw overnight in the fridge for a fresh-from-the-oven taste without the work.
Reheating
Reheat leftovers gently in the microwave for 20–30 seconds or warm in the oven at 300°F for a few minutes. This will revive that soft texture and melt the peanut butter cups to their glorious gooeyness once again.
FAQs
Can I use homemade chocolate cake instead of mix?
Absolutely! If you prefer making cake from scratch, go for it. Just keep the batter consistency similar so the peanut butter swirl can meld beautifully.
Is it possible to make this cake nut-free?
This cake’s signature peanut butter element would be tricky to replace, but you could experiment with sunflower seed butter and allergy-friendly candy pieces for a nut-free version.
How do I prevent the peanut butter swirl from sinking?
Swirling the peanut butter mixture gently and in spoonfuls helps keep it visible on top. Also, don’t overmix so the swirl stays distinct and creates those delicious “earthquake” pockets.
Can I substitute cream cheese with something else?
Cream cheese adds tang and creaminess, but you can try mascarpone or Greek yogurt for a slightly different flavor profile if you’re feeling adventurous.
Why is it called Earthquake Cake?
The name comes from the visual effect of swirls and chunks of peanut butter and candy dispersed throughout the cake, reminiscent of an “earthquake” pattern of flavor and texture surprises in every bite.
Final Thoughts
If you want to impress with a dessert that tastes like a dream and feels like a warm hug, you simply must try this Reese’s Peanut Butter Earthquake Cake. It’s a wonderfully easy cake that feels indulgent and special, perfect for sharing with friends or treating yourself. Once you make it, expect to bake it again and again because this cake quickly becomes a beloved classic.
PrintReese’s Peanut Butter Earthquake Cake Recipe

A rich and decadent Reese’s Peanut Butter Earthquake Cake featuring a moist chocolate base swirled with creamy peanut butter and cream cheese mixture, topped generously with chopped Reese’s Peanut Butter Cups. This dessert is perfect for peanut butter and chocolate lovers craving an indulgent treat.
- Prep Time: 15 minutes
- Cook Time: 40 minutes
- Total Time: 55 minutes
- Yield: 12 servings 1x
- Category: Dessert
- Method: Baking
- Cuisine: American
- Diet: Vegetarian
Ingredients
Cake Batter
- 1 box chocolate cake mix
- 1 cup water
- 1/2 cup vegetable oil
- 3 large eggs
Peanut Butter Swirl
- 1 cup creamy peanut butter
- 8 oz cream cheese, softened
- 1/2 cup unsalted butter, melted
- 4 cups powdered sugar
- 1 tsp vanilla extract
Topping
- 1 cup Reese’s Peanut Butter Cups, chopped
Instructions
- Preheat Oven and Prepare Pan: Preheat your oven to 350°F (175°C) and grease a 9×13-inch baking dish thoroughly to prevent sticking.
- Make Cake Batter: In a large mixing bowl, combine the boxed chocolate cake mix, water, vegetable oil, and eggs. Whisk or beat until the batter is smooth and well incorporated. Pour this mixture evenly into the prepared baking dish.
- Prepare Peanut Butter Mixture: In a separate bowl, mix together the creamy peanut butter, softened cream cheese, melted unsalted butter, powdered sugar, and vanilla extract. Stir until the mixture is smooth and free of lumps.
- Swirl Peanut Butter Mixture: Drop spoonfuls of the peanut butter mixture evenly over the chocolate cake batter in the baking dish. Using a knife or skewer, swirl the peanut butter mixture into the chocolate batter gently to create a marbled effect.
- Add Topping: Sprinkle the chopped Reese’s Peanut Butter Cups evenly over the top of the swirled batter to add texture and extra peanut butter-chocolate flavor.
- Bake the Cake: Place the baking dish in the preheated oven and bake for 35-40 minutes. Test doneness by inserting a toothpick into the center— it should come out mostly clean with a few moist crumbs.
- Cool and Serve: Allow the cake to cool for a short while before serving. This cake can be enjoyed warm or at room temperature for best flavor and texture.
Notes
- Make sure the cream cheese is softened to room temperature for easier mixing and a smoother peanut butter swirl.
- You can substitute the vegetable oil with canola or another neutral oil if preferred.
- For a richer chocolate flavor, use dark chocolate cake mix.
- Store leftovers covered at room temperature for up to 2 days or refrigerate for up to 5 days.
- This cake freezes well; wrap tightly and freeze for up to 3 months. Thaw overnight in the fridge before serving.
Nutrition
- Serving Size: 1 slice (approx. 1/12 of cake)
- Calories: 520
- Sugar: 40g
- Sodium: 350mg
- Fat: 30g
- Saturated Fat: 12g
- Unsaturated Fat: 15g
- Trans Fat: 0.5g
- Carbohydrates: 55g
- Fiber: 3g
- Protein: 8g
- Cholesterol: 70mg
Keywords: Reese’s peanut butter cake, peanut butter swirl cake, chocolate peanut butter cake, Earthquake cake, peanut butter dessert, easy chocolate cake recipe